Google Tag Manager: How to Install Consent Studio
Support Google Consent Mode v2 through Google Tag Manager with Consent Studio
Last updated 3 days ago
Follow these steps to install the Consent Studio Consent Management Platform on Google Tag Manager
After completing the following steps, you will have a Google Tag Manager container set-up with Consent Overview enabled and have the Consent Studio CMP installed with basic settings.
When to use this guide?
The Installation Wizard recommends Use our GTM Tag Template when you already use Google Tag Manager and you can't, or prefer not to, edit your website's code. It also recommends it when you choose Google Tag Manager under “Do you have a preference for installation?”.
If you can edit your website's code, the wizard recommends Code instead, also when you choose No preference. With Code, you place the Installation Code directly in the <head>, before GTM. See How to install Consent Studio in combination with gtag.js.
For why the order matters, see Google Consent Mode Load Order.
1. Prepare your Google Tag Manager container
Have a GTM Container ready
First things first: you need to have set-up a Google Tag Manager container and installed it on your website. This article from the official Google documentation will help you do this.
Good to know: For WordPress websites, Google has the Google Site Kit plugin available that helps you to easily install Google Tag Manager on your WordPress website — without the need to code.
Enable Consent Overview
The Consent Overview page provides a high level view of all the consent settings across the tags in your container and helps you adjust them for individual tags.
Consent Overview is not enabled by default on your Google Tag Manager container. Enable it using these instructions from the official Google documentation.
2. Installation of Consent Studio
Log in at the Consent Studio dashboard. If you do not yet have an account, you can create one here.
After having registered your site for our free trial, you will find that the configuration of your site is order in a specific flow of steps. These are navigable from every main configuration component in your dashboard, using the buttons with the arrow icons.
In the top navigation of the dashboard, open the Web CMP dropdown and click on Install Consent Studio.
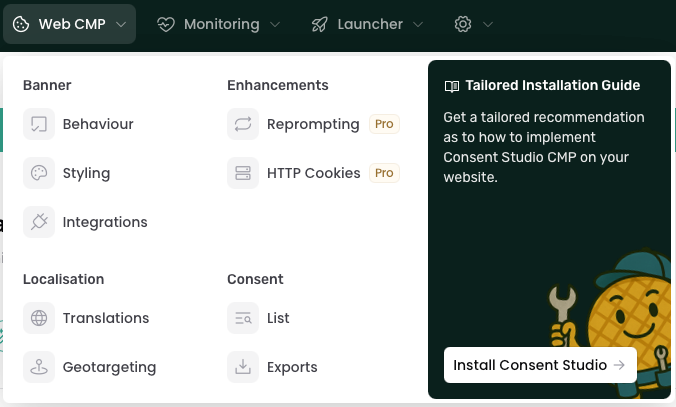
On the installation page, click Next to get the questionnaire. Answer the questions of the guide.
To get the GTM Tag Template recommendation, answer Yes to "Are you using Google Tag Manager?". Then either answer No to "Are you comfortable editing your website's code, and do you have access to do so?", or choose Google Tag Manager under "Do you have a preference for installation?".
No preference leads to Code.
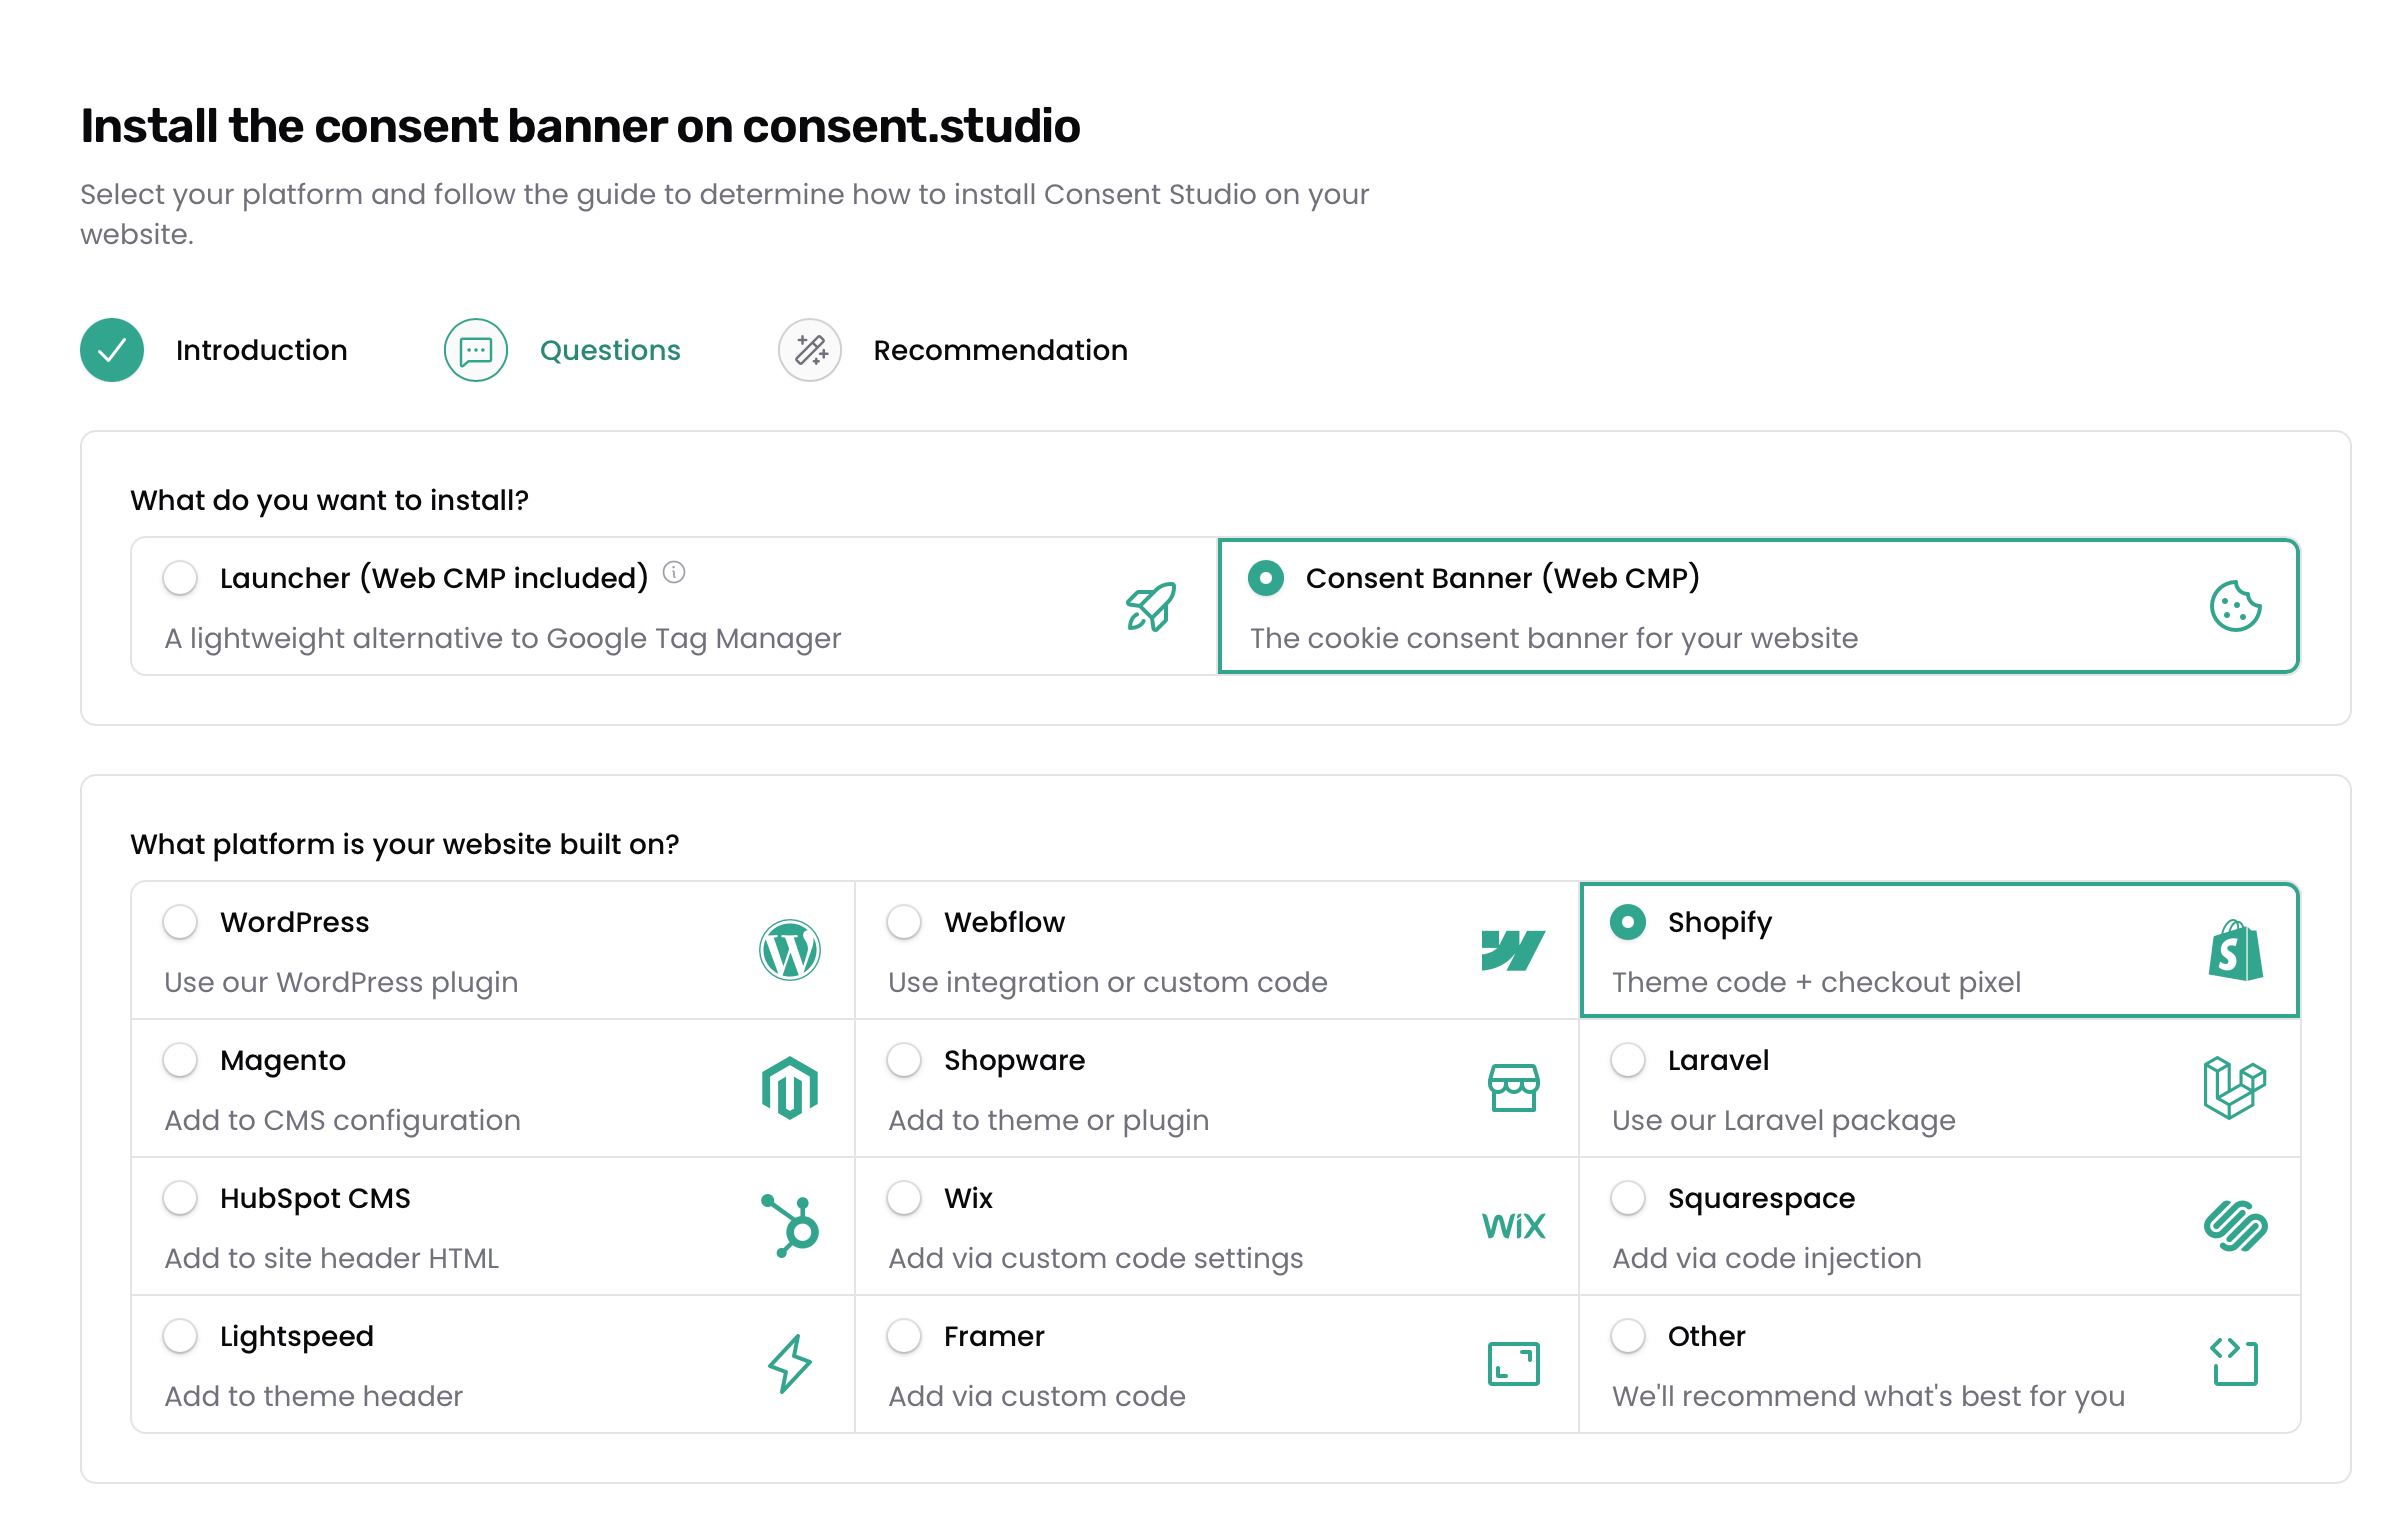
Next, add our Google Tag Manager tag template (Consent Studio CMP) from the Template Gallery to the GTM container that is active on the domain that you have registered with Consent Studio.
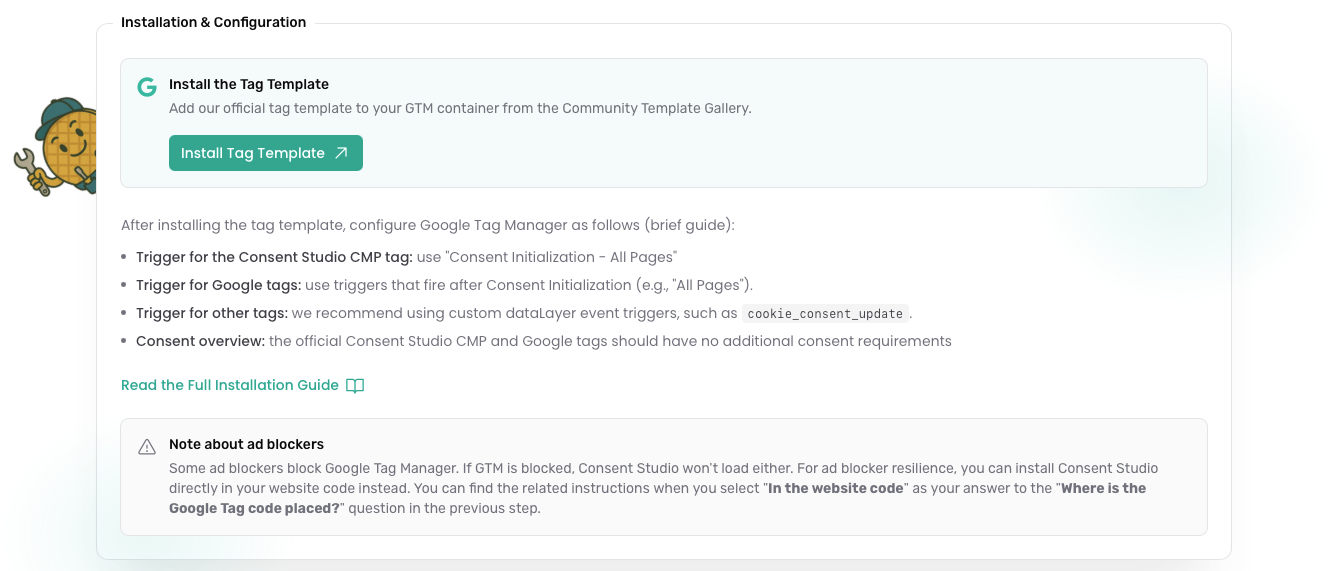
The Tag Manager Template can be found by clicking on Install Tag Template or through the following link: https://tagmanager.google.com/gallery/#/owners/vallonic/templates/consent-studio-gtm-template
Instructions on how to add a tag to your GTM container can be found here: https://support.google.com/tagmanager/answer/9454109?hl=en
When you have added the template to the relevant GTM container, open the Tags tab, click New and add the Consent Studio CMP tag to the Tag Manager container. The trigger must be Consent Initialization - All Pages.
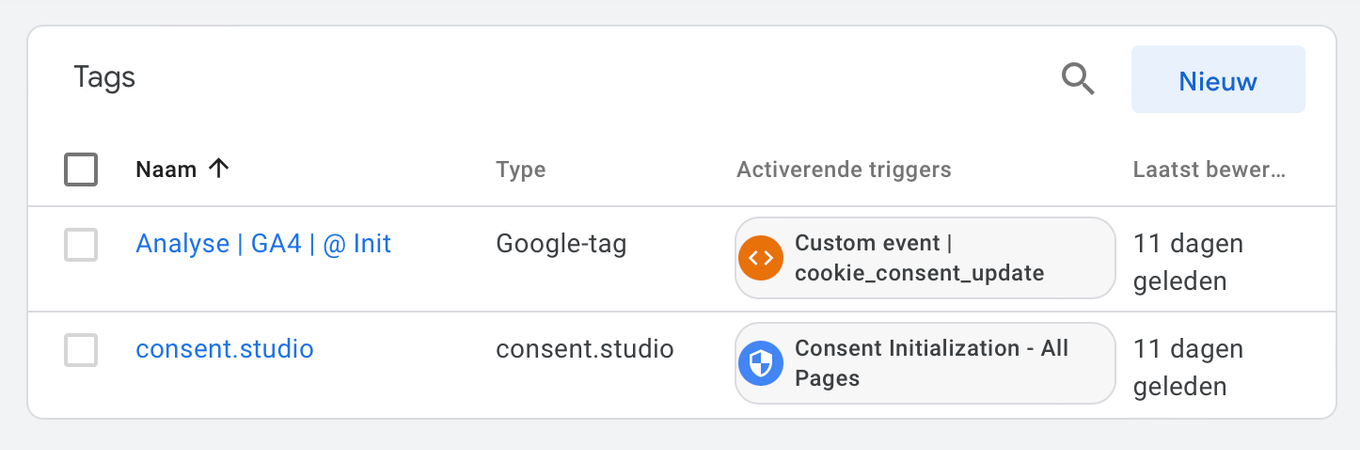
Google Consent Mode v2
Trigger for the "Consent Studio CMP" tag
When you install Consent Studio through Google Tag Manager, use the “Consent Initialization - All Pages” trigger for the Consent Studio CMP tag.
With this setup, the Consent Mode defaults are only set once GTM itself has loaded. If Monitoring shows Google Consent Mode Load Order, switch to the Code path: place the Installation Code directly in the <head>, before GTM, and remove the Consent Studio CMP tag from GTM. See Google Consent Mode Load Order.
Basic and advanced consent mode
Implementing Consent Mode v2 can be divided in two approaches:
Basic
Advanced
With the basic approach, you will block specific tags until a consent update allows them to load. You can achieve this with the cookie_consent_update event (or one of our specific events) that ships with Consent Studio.
With the advanced approach, you will load them nevertheless. However, the tags will adapt to the actual consent states and change their behavior accordingly. You can then use the All Pages trigger that is available in Google Tag Manager.
How to set-up basic consent mode
As the basic approach of consent mode entails that tags are not loaded at all until consent has been provided for a specific category, we will leverage the built in dataLayer events of Consent Studio to achieve this.
For tags that you only want to load when consent has been provided for the "functional" consent category, the event that you may use is called
cookie_consent_granted_functional;For tags that you only want to load when consent has been provided for the "analytics" consent category, the event that you may use is called
cookie_consent_granted_analytics.For tags that you only want to load when consent has been provided for the "marketing" consent category, the event that you may use is called
cookie_consent_granted_marketing.
To create a new custom event trigger (cited from Google's documentation):
Open the Triggers panel in your Google Tag Manager container and click New.
Click Trigger Configuration and choose the Custom Event trigger type.
Enter an event name. This should be any of the event names provided above.
How to set-up advanced consent mode
Implementing advanced consent mode is, ironically, simpler, as you will load tags as you normally should, based on the trigger that best suits your use case. This could be the All Pages trigger, for instance.
Note that not every tag that you install in your Tag Manager container may respect the consent signals provided by Consent Studio through Google Consent Mode. If you are unsure, it might be best to use basic consent mode for these tags and not load them at all until consent has been provided by the visitor for the specific tag.
You can trust that official tags that are maintained by Google, such as Conversion Linker, the Google Tag and Google Analytics adapt to consent signals properly.
Frequently asked questions
How do I get rid of the ?_gl=1* parameter that is automatically being added in my page's URLs?
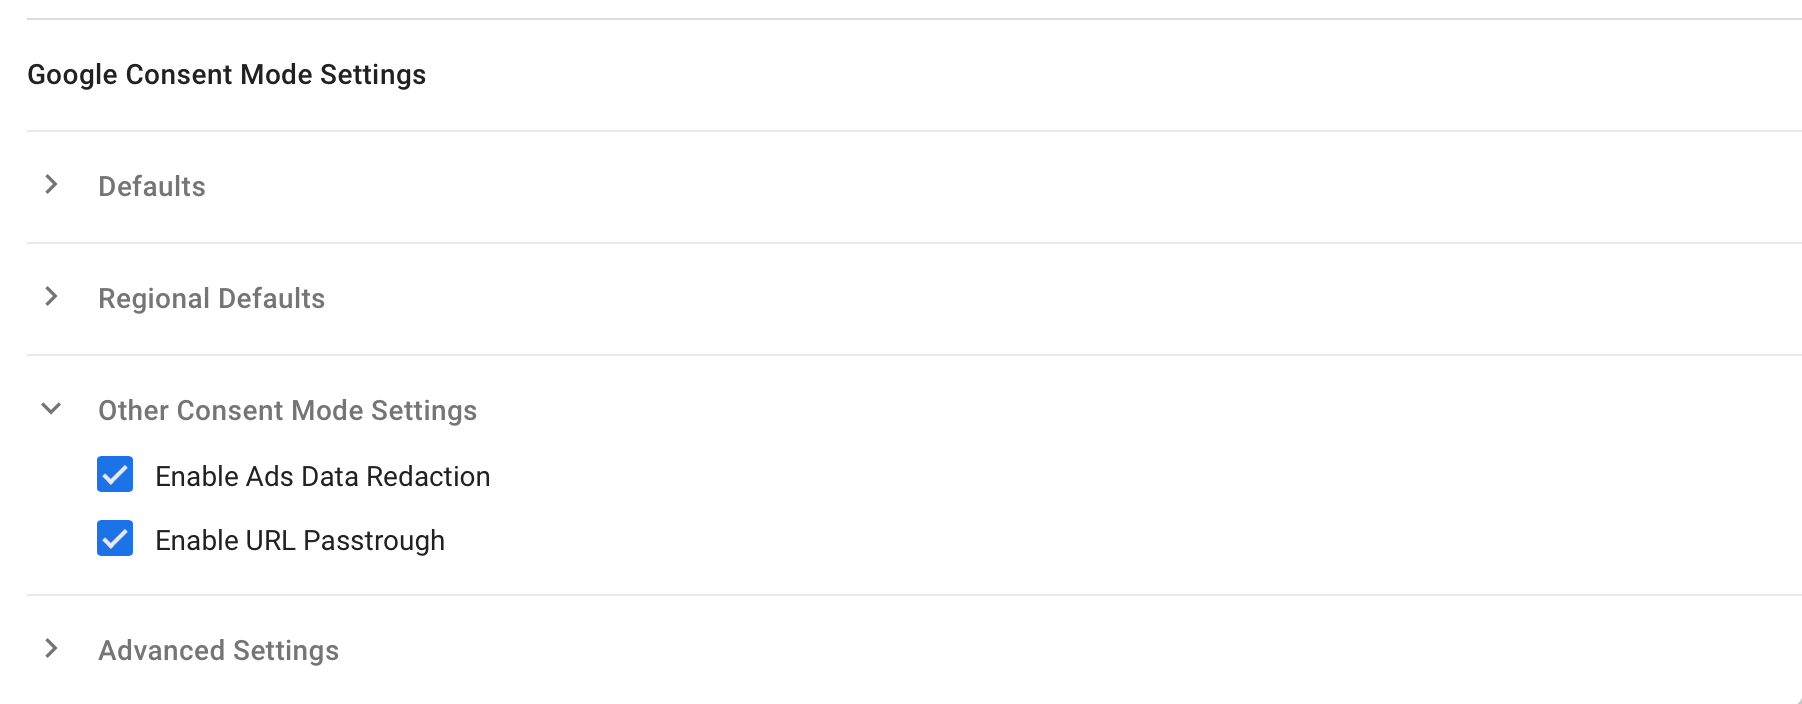
You can disable the automatic addition of this parameter by disabling the Enable URL Passthrough option in the Consent Studio Google Tag Manager template.
Was this helpful?
Still need help? Ask the team