Customise Your Web Consent Banner
How to customize your consent banner: styling, behaviour and text
Last updated 18 days ago
Make your cookie banner your own with the Consent Studio customisation options
Automatic styling during registration
When you create an account, our Martin AI automatically scans your website during the registration process. Based on this scan, it detects commonly used colors and applies a matching color scheme to your cookie banner.
So when you first enter the Consent Studio dashboard, your banner is already styled to fit the look and feel of your website.
Customising the banner behaviour
The Behaviour tab can be found under Web CMP > Behaviour.
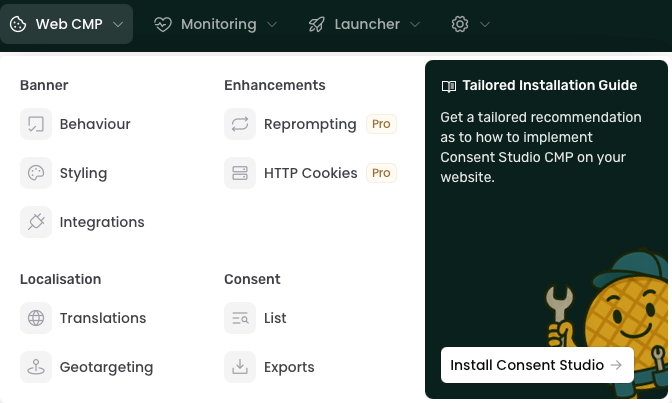
The Behaviour tab in Consent Studio gives you full control over how your cookie banner behaves on your website.
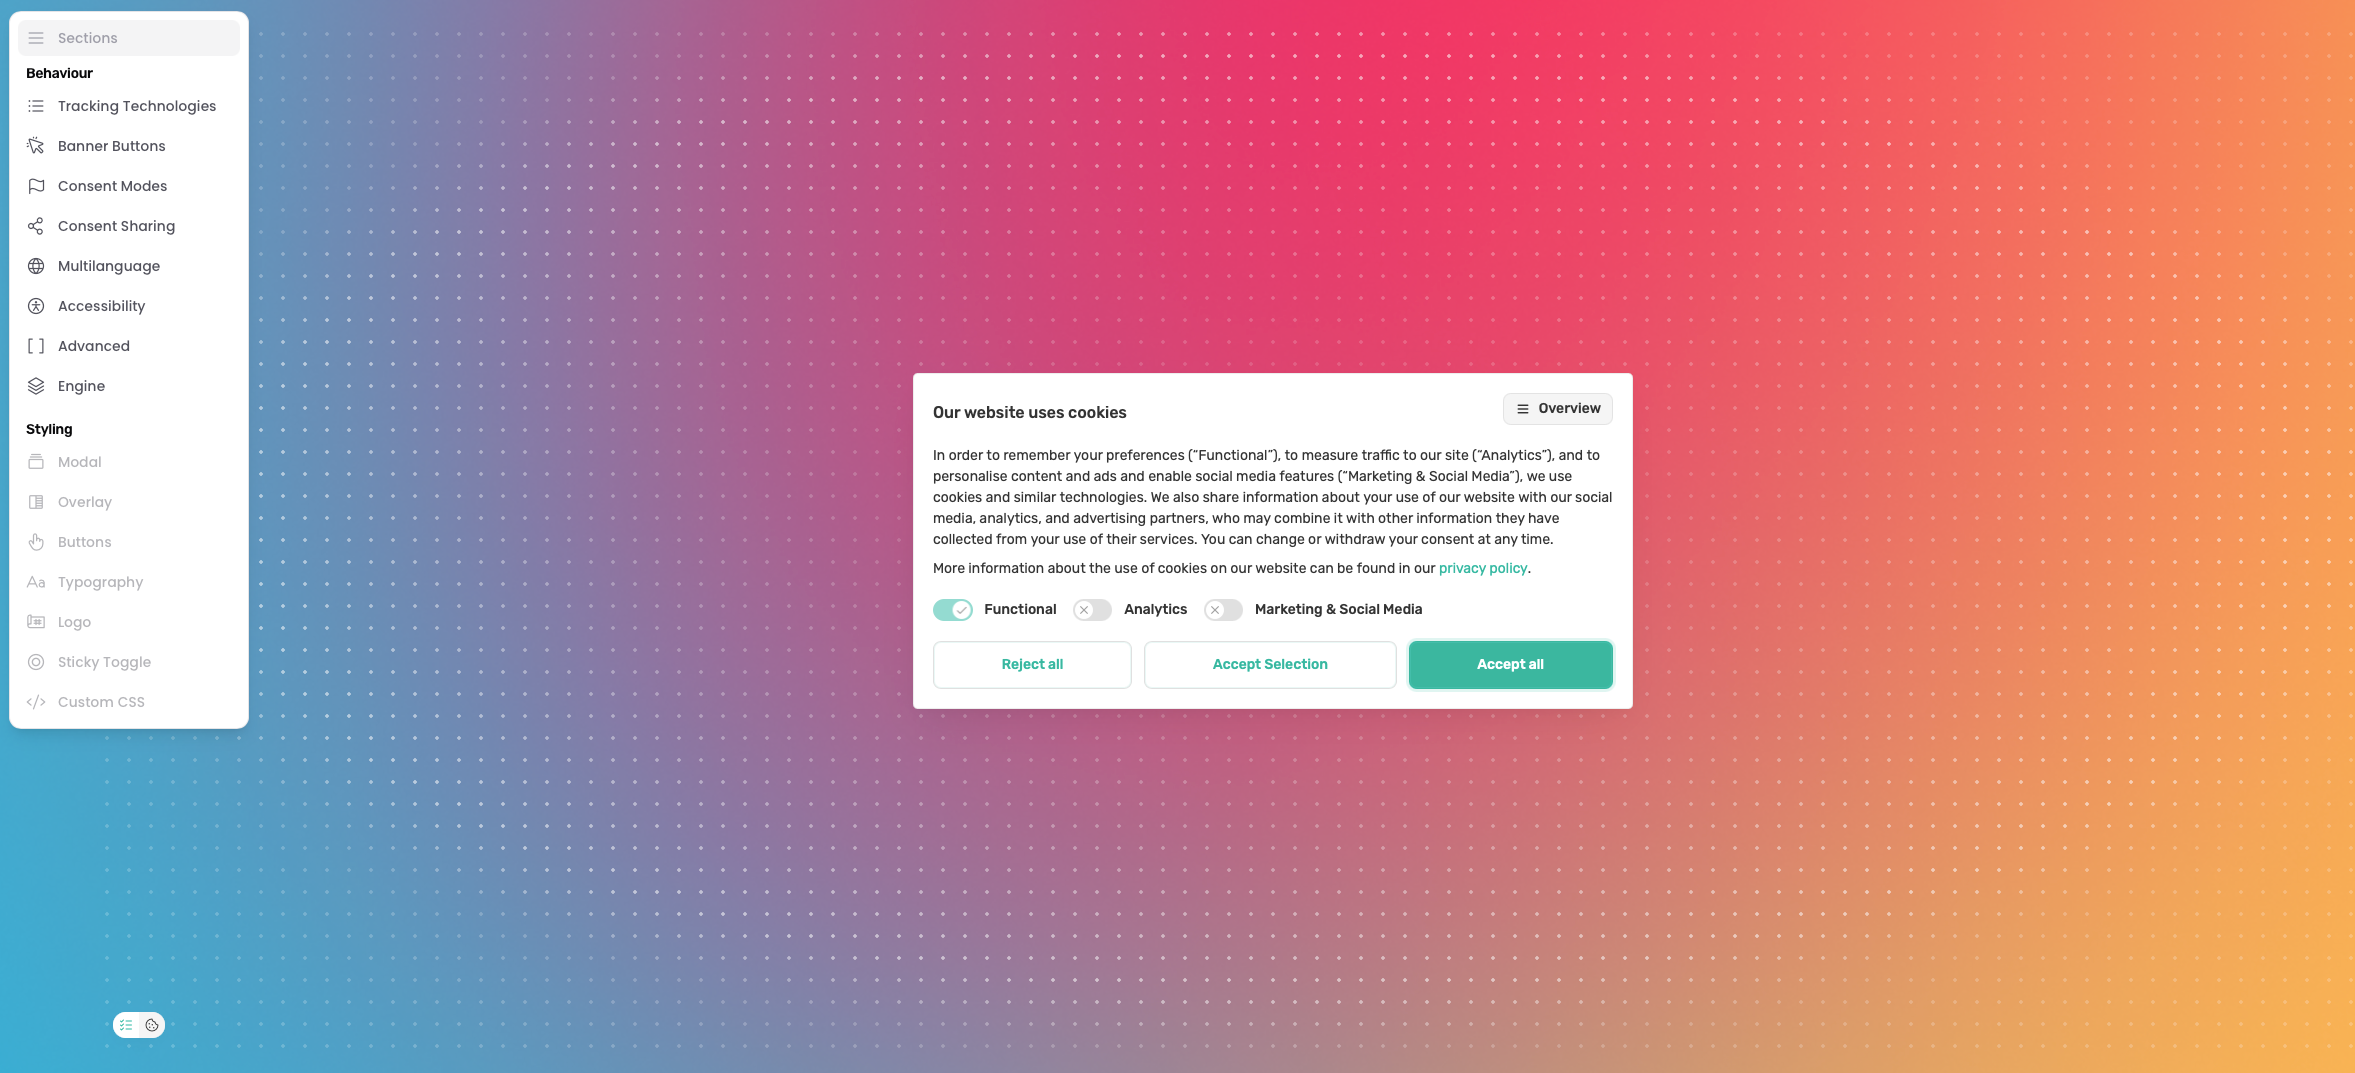
On the right side of this page, you'll find a preview of your cookie banner. The preview updates in real-time as you adjust the settings, allowing you to instantly see how your banner will look and behave for your users.
Pro Tip: in scenarios where you wish to let your consent banner behave differently based on the origin of a visitor's traffic, you can do so by configuring a Geotargeting Rule. Learn more here.
It may occasionally take a while for your settings to be propagated across our network. To verify if all the update is complete, please do a hard refresh in your browser when visiting the target domain.
Tracking Technologies
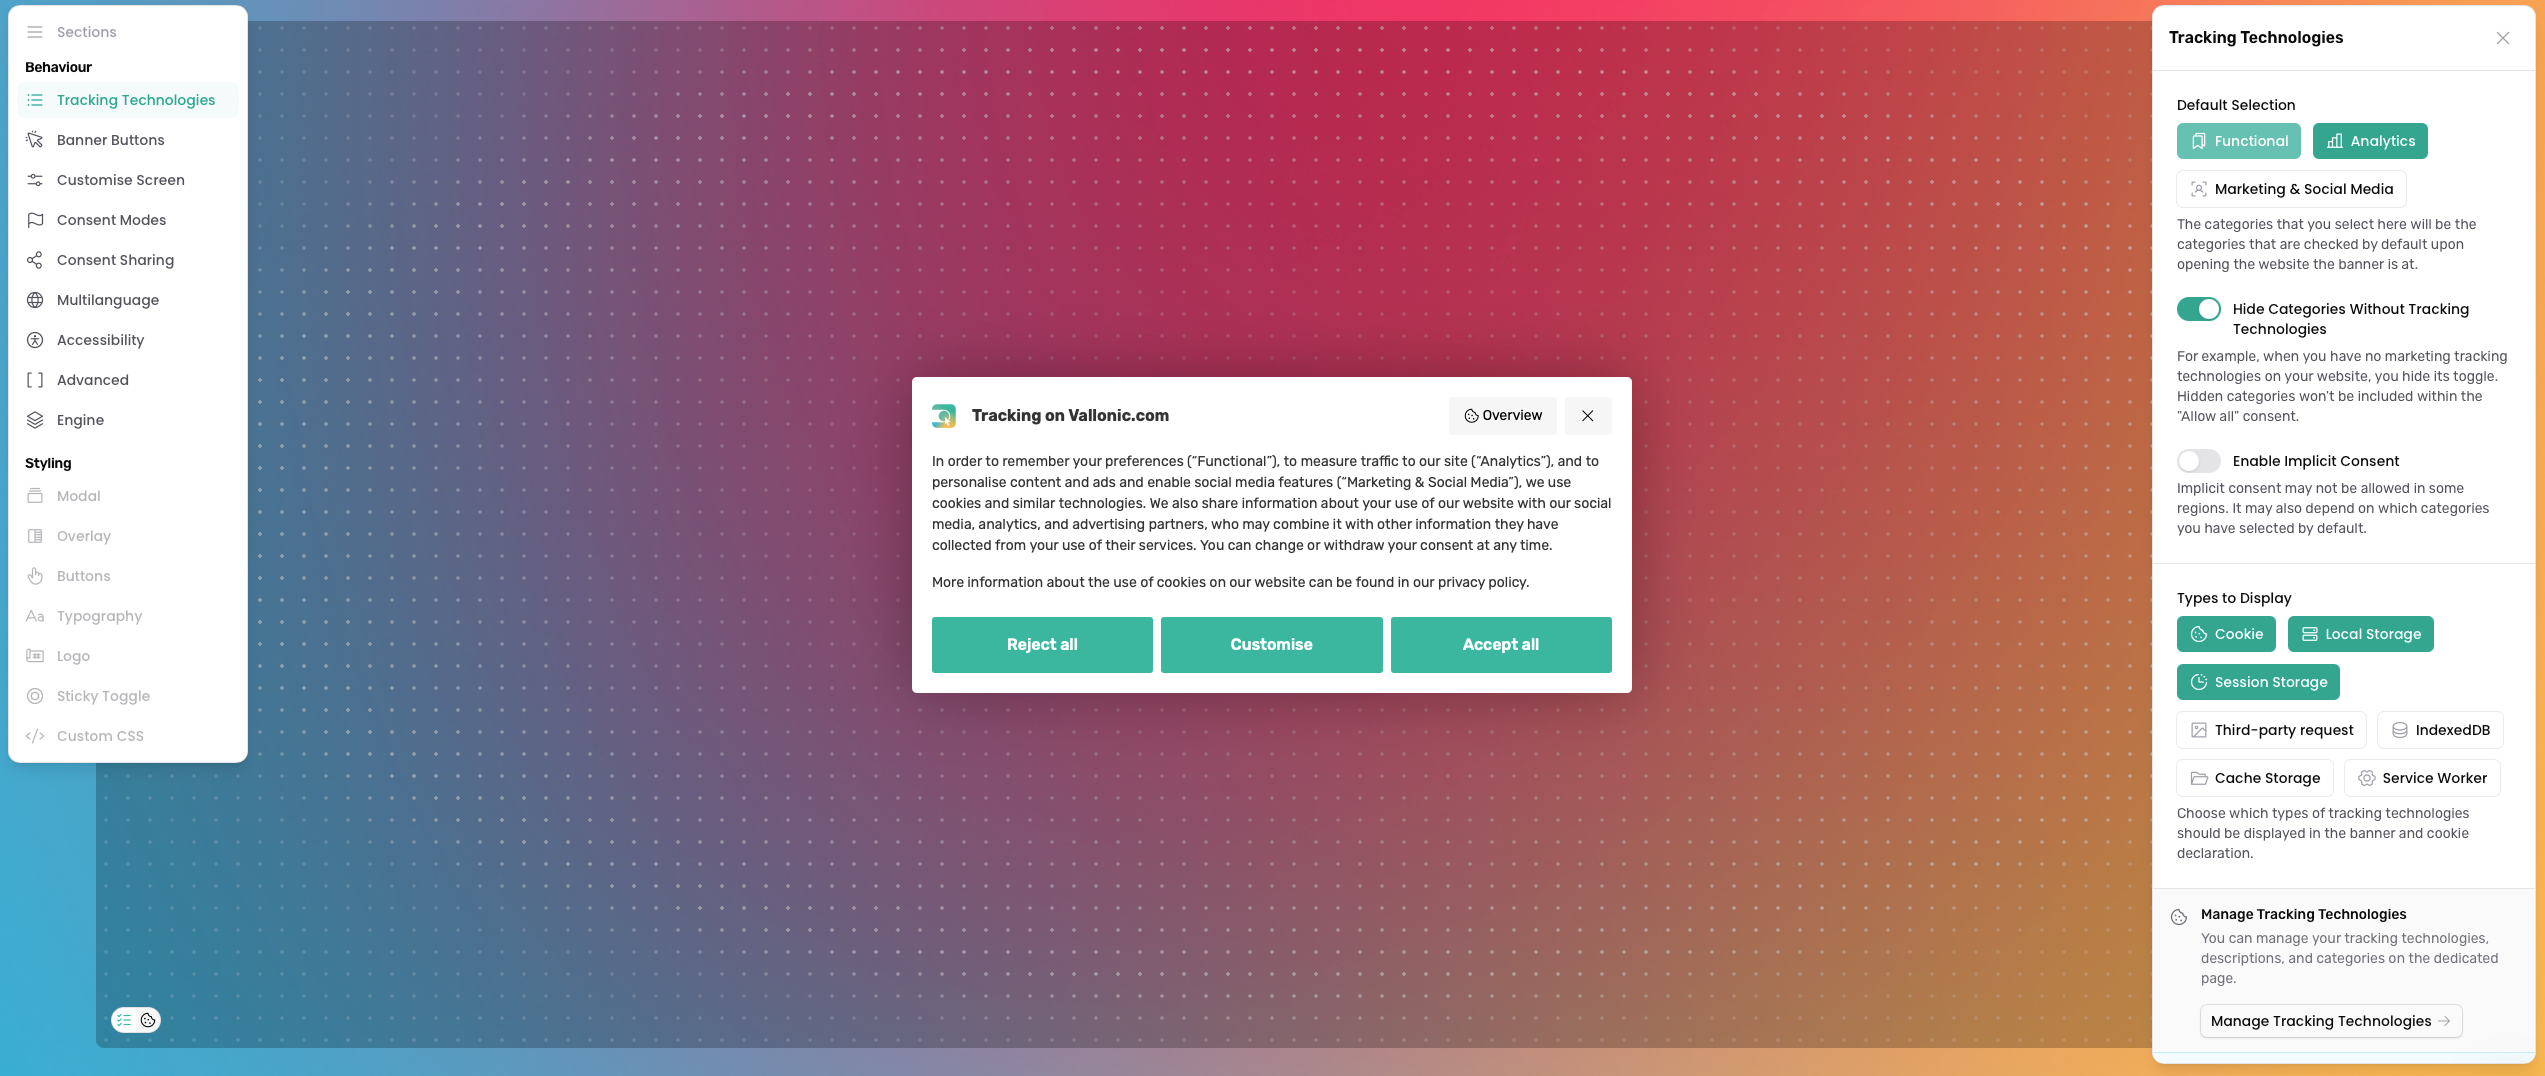
The Tracking Technologies tab allows you to manage which categories (Functional, Analytics, Marketing & Social Media) are displayed and whether they are pre-selected. You can also manage which types of tracking technologies you want to display inside of the banner and declaration.
To choose which categories are switched on by default when a visitor opens the banner, select them under Default Selection (Web CMP > Behaviour > Tracking Technologies). Functional is always included. If you also want this selection recorded as consent for new visitors, see Implicit consent explained.
Actions
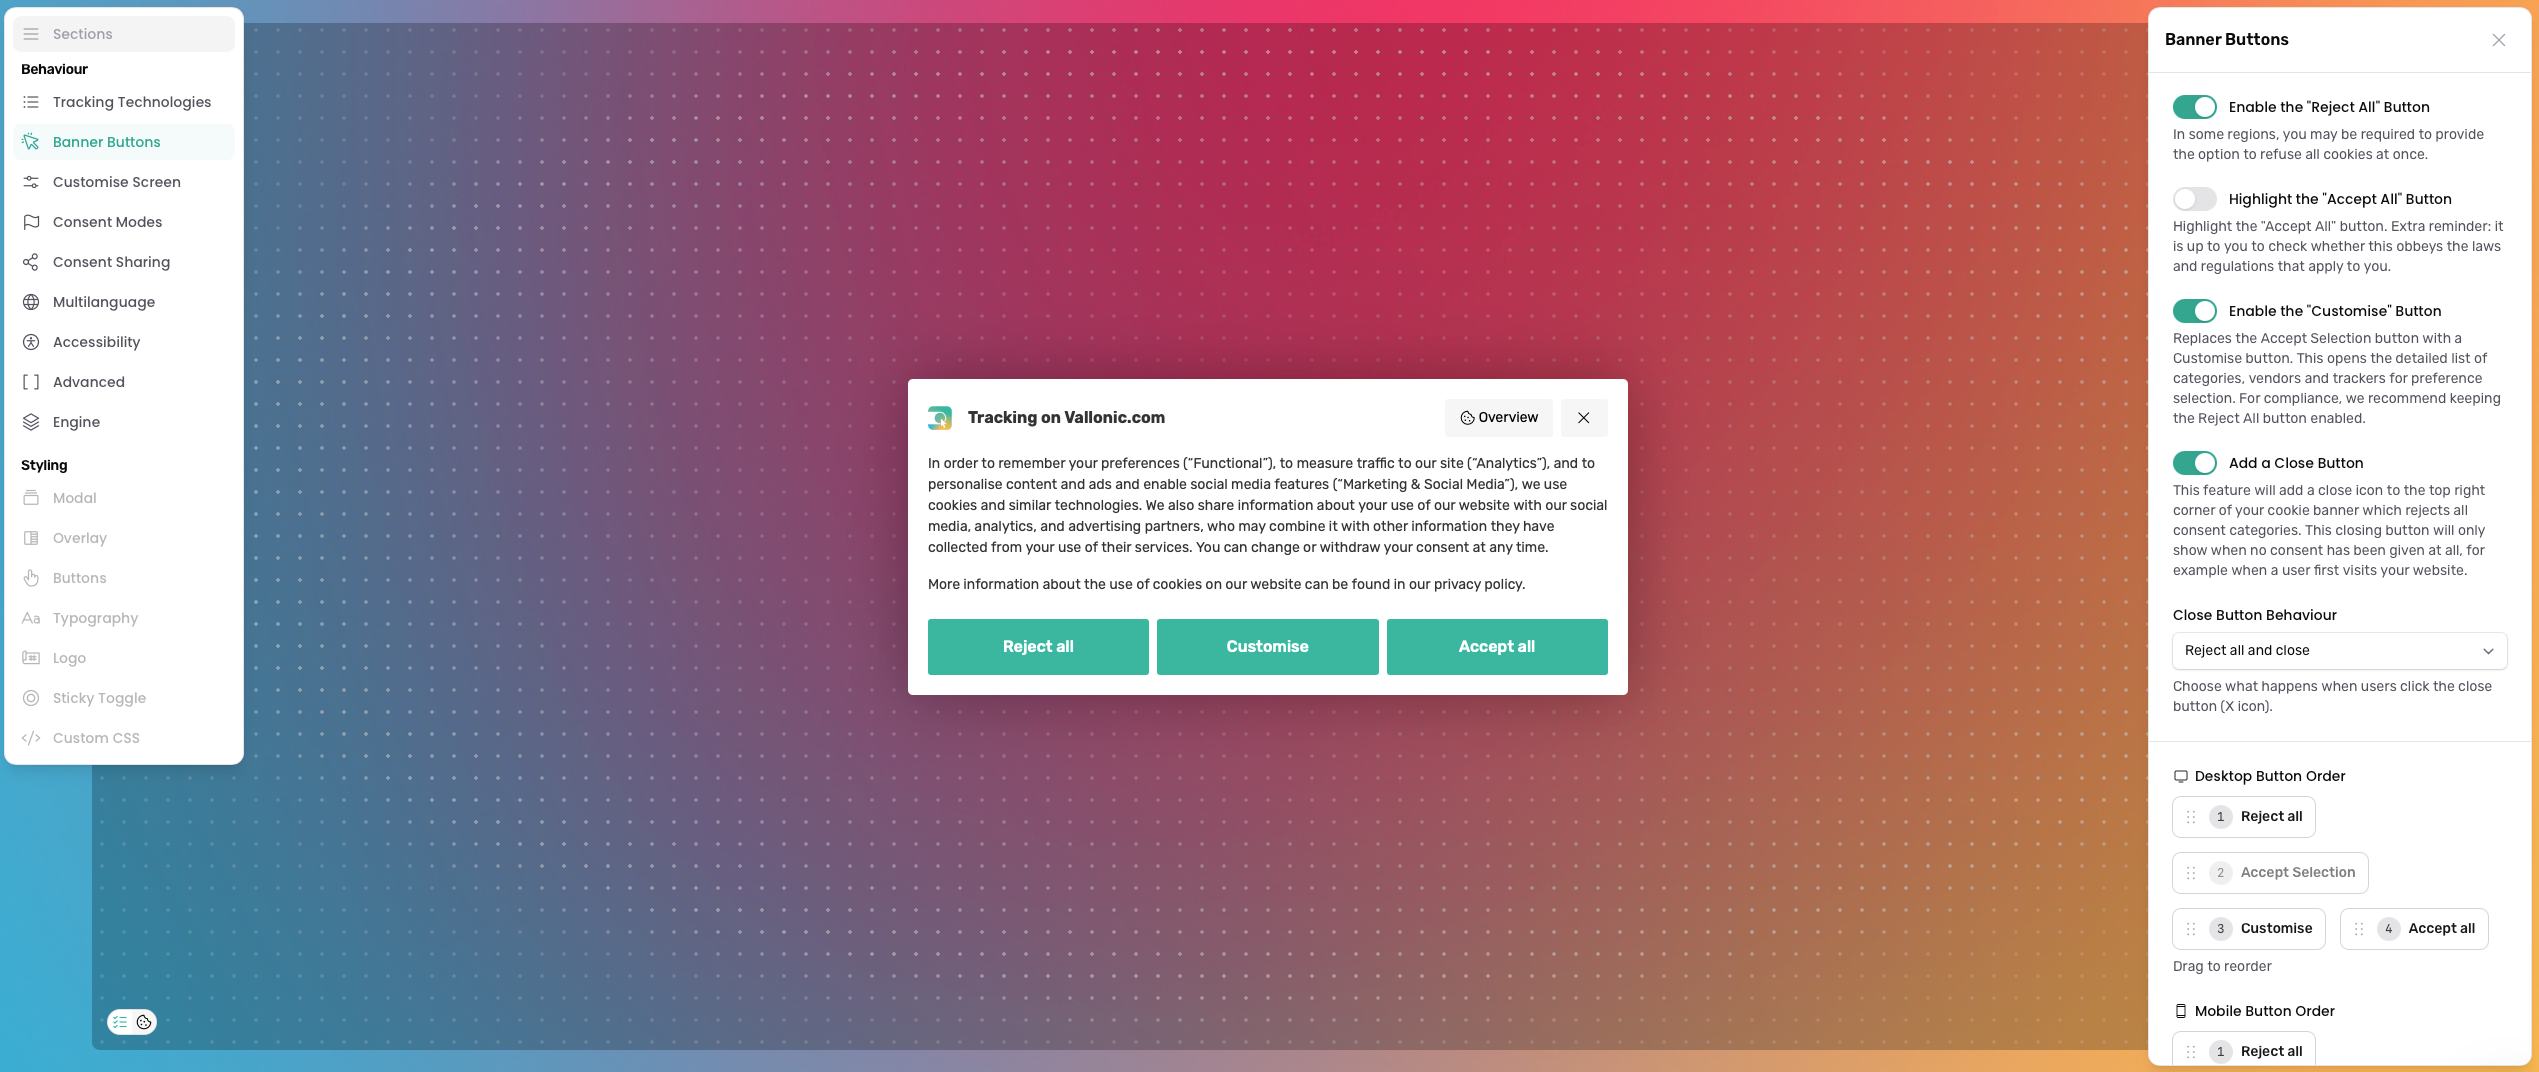
The Actions tab allows you to manage which buttons are enabled, such as the “Reject All” and “Customise” buttons. Switching on Enable the "Customise" Button moves the category toggles (Functional, Analytics, Marketing) off the first screen of the banner and into the Customise screen. This setting is part of Consent Studio Professional. You can also configure how the close button behaves.
Links
Under Links in the Actions tab, you choose which links show below the banner text. This is available on the New (beta) engine. Drag a link, or use the arrows, to change the order. Use the eye icon to show or hide a link. By default, only Privacy policy is shown. It stays dimmed until you set a privacy policy URL under Web CMP > Localisation > Translations.
Privacy policy opens your privacy policy.
Overview opens the overview in the banner.
Vendors, Purposes and Legitimate interest are only there while IAB TCF is on. Each one opens that part of the IAB TCF overview. Privacy policy and Vendors are required while IAB TCF is on, so you cannot hide them. See What changes in your banner with IAB TCF.
You change the wording of the links per language under Web CMP > Localisation > Translations, in the Links fields of the Banner section. The IAB TCF links use the headings from the IAB TCF section on that page, so a link reads the same as the part of the banner it opens.
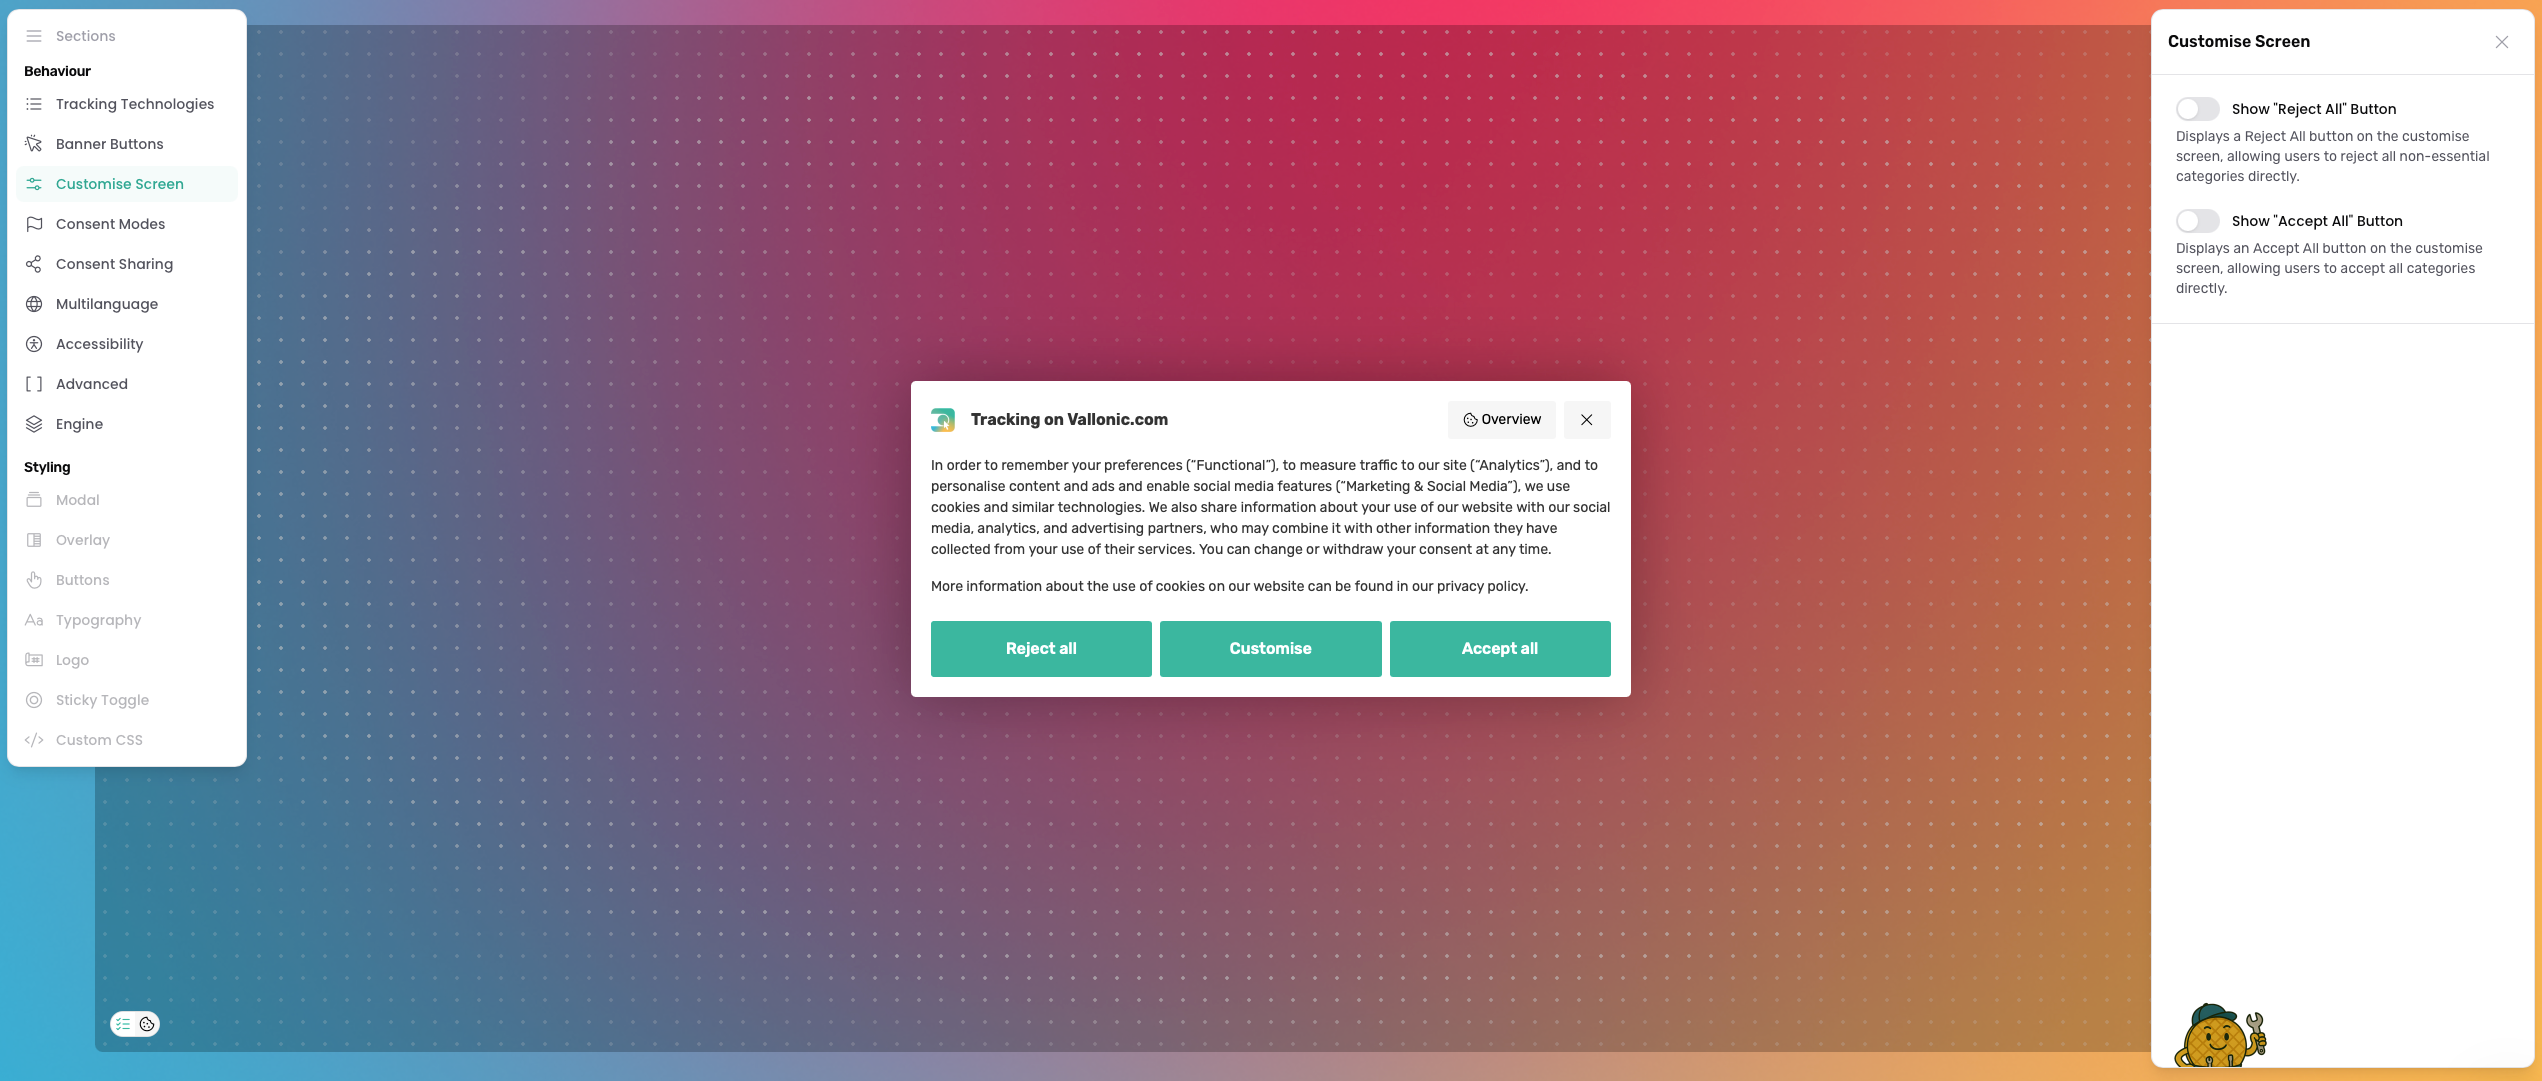
Customise Screen
The Customise Screen tab allows you to manage which buttons are visible on the customise screen.
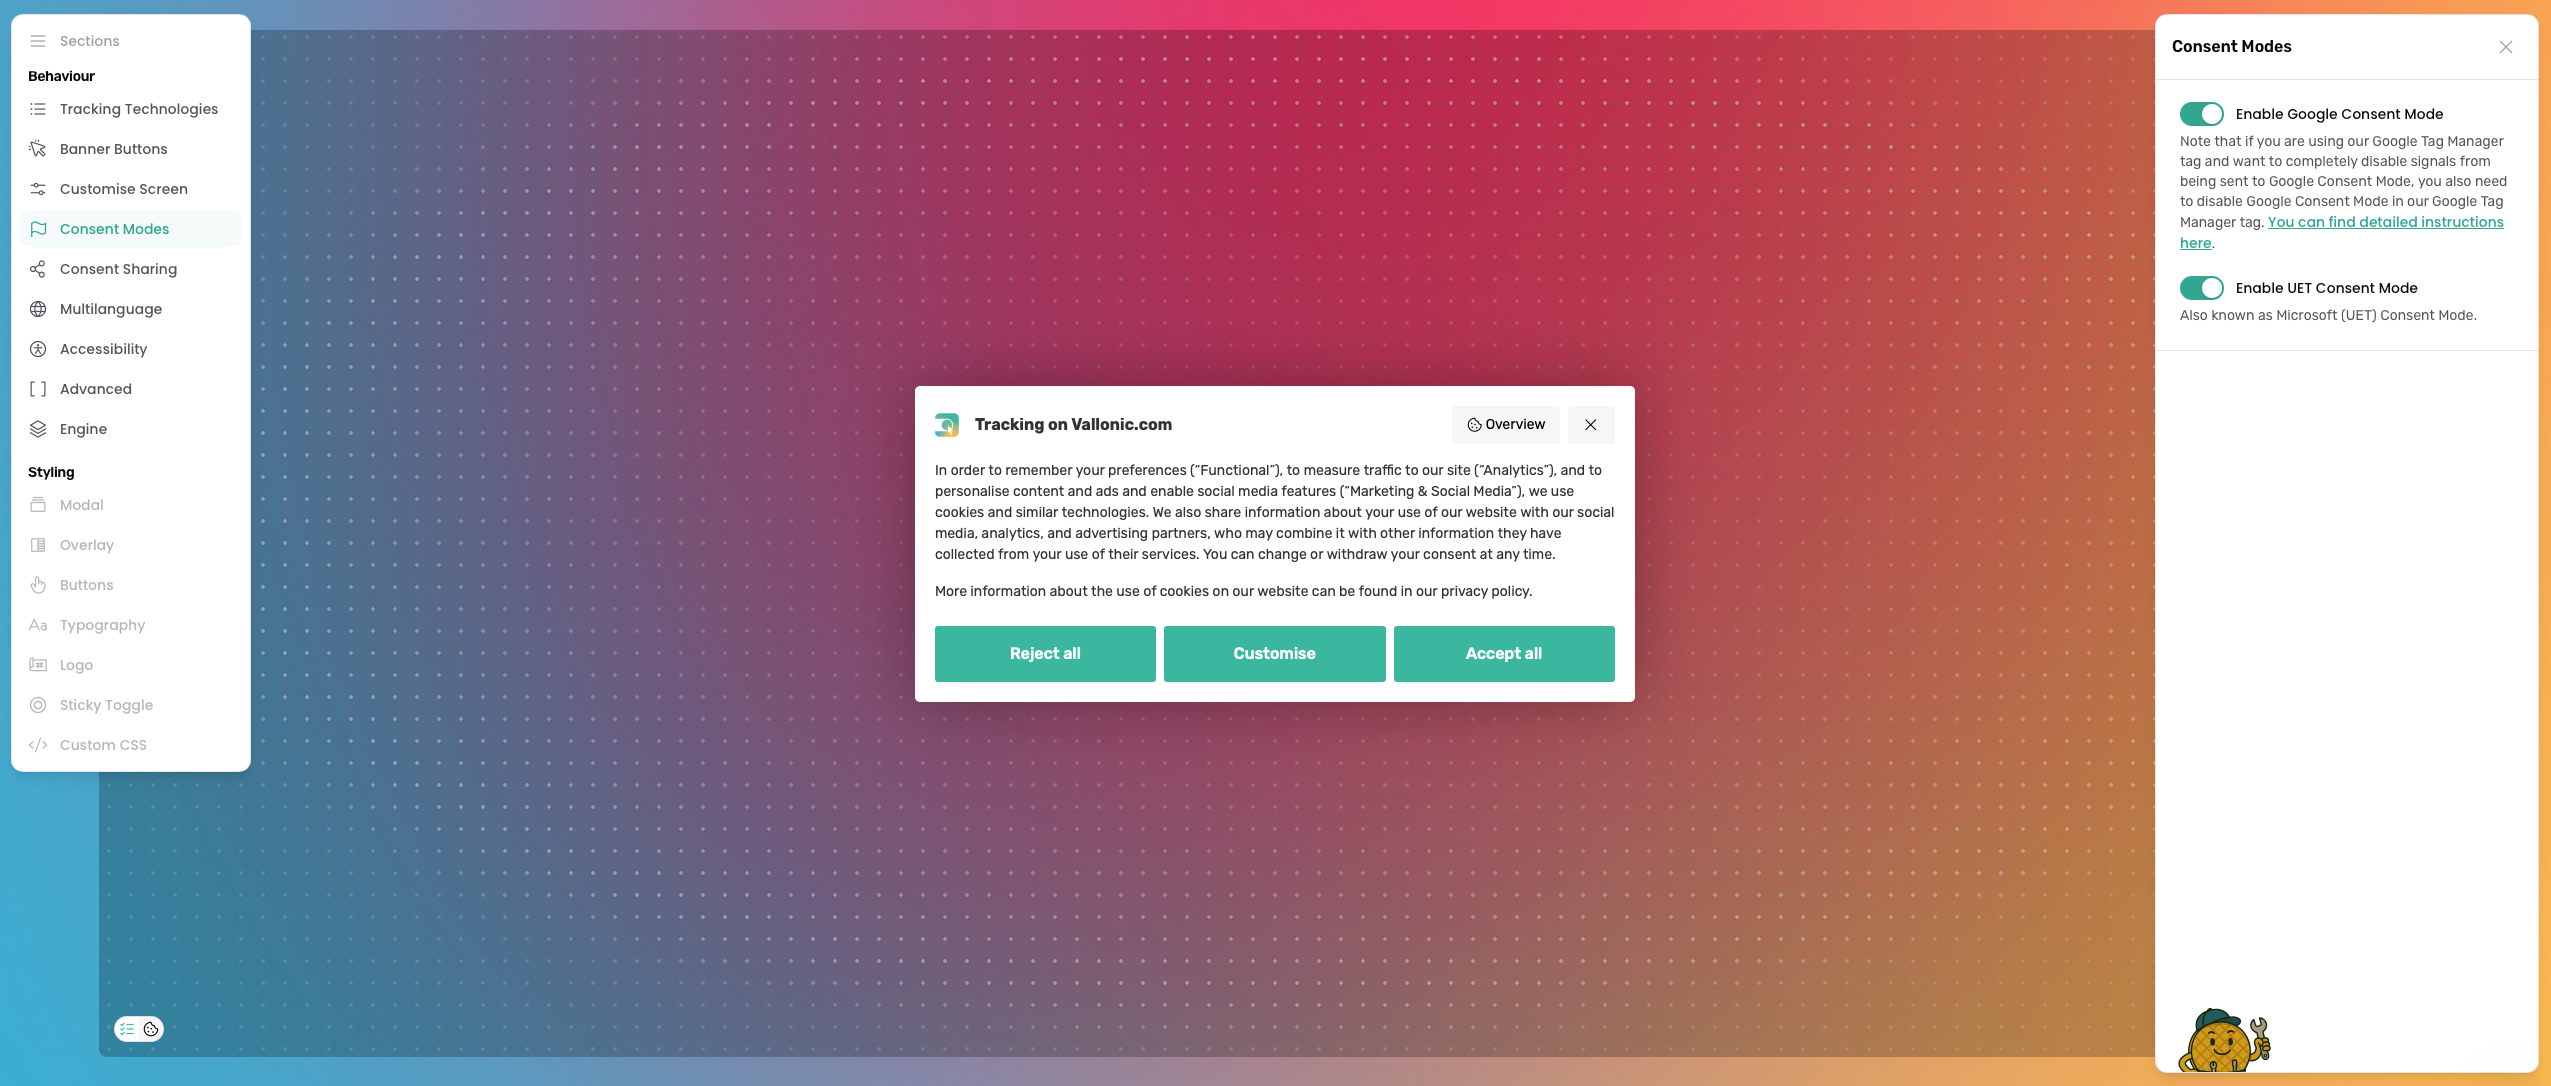
Consent Modes
The Consent Modes tab allows you to manage which consent modes are enabled for your website.
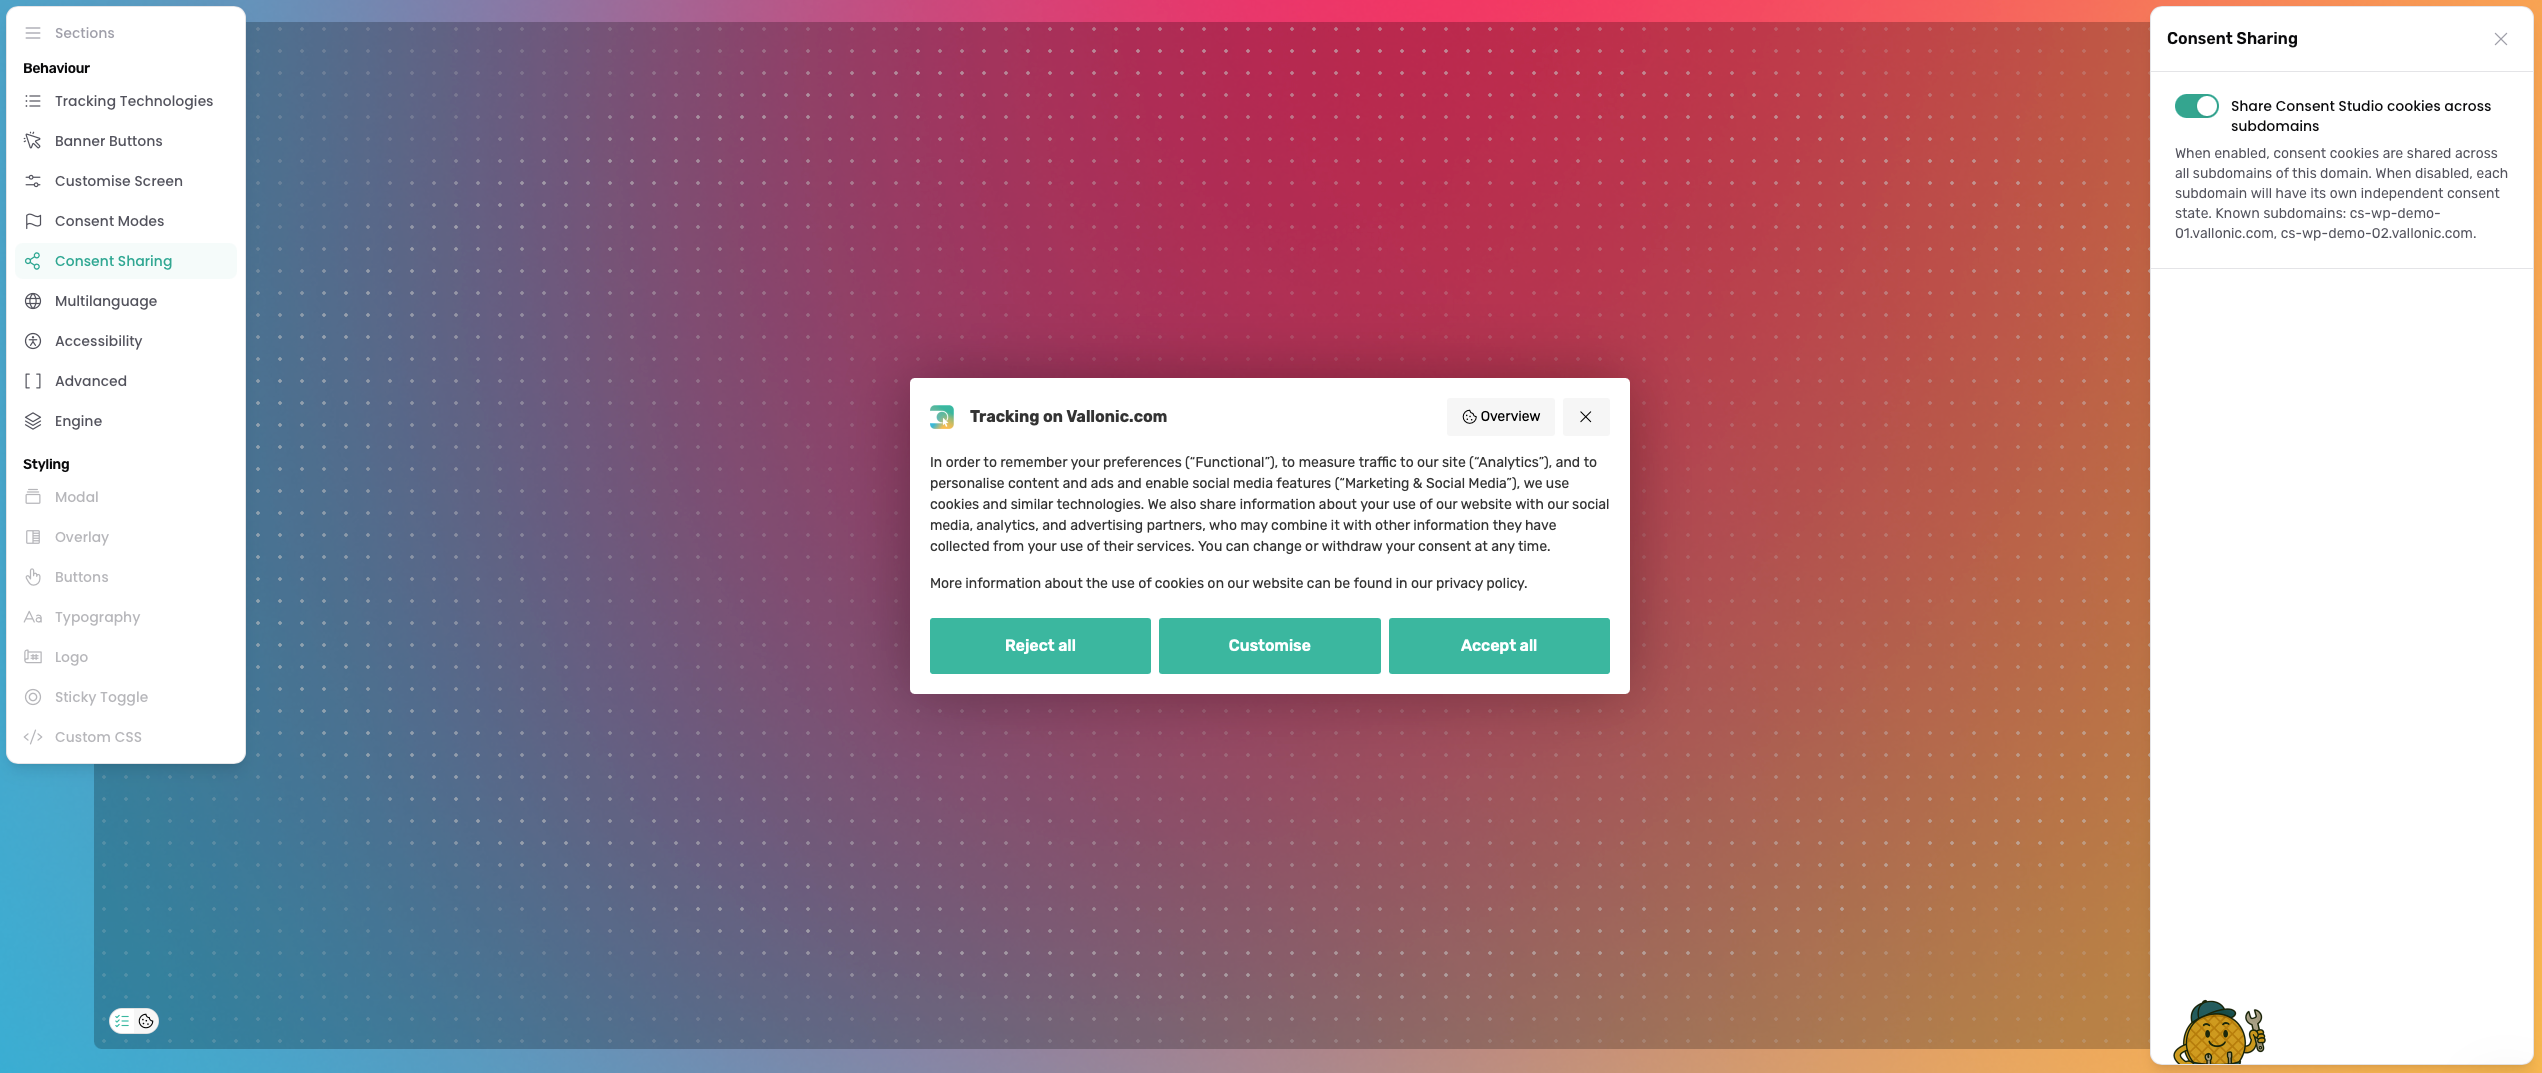
Consent Sharing
The Consent Sharing tab allows you to choose whether you want to share your Consent Studio cookies across all your subdomains.
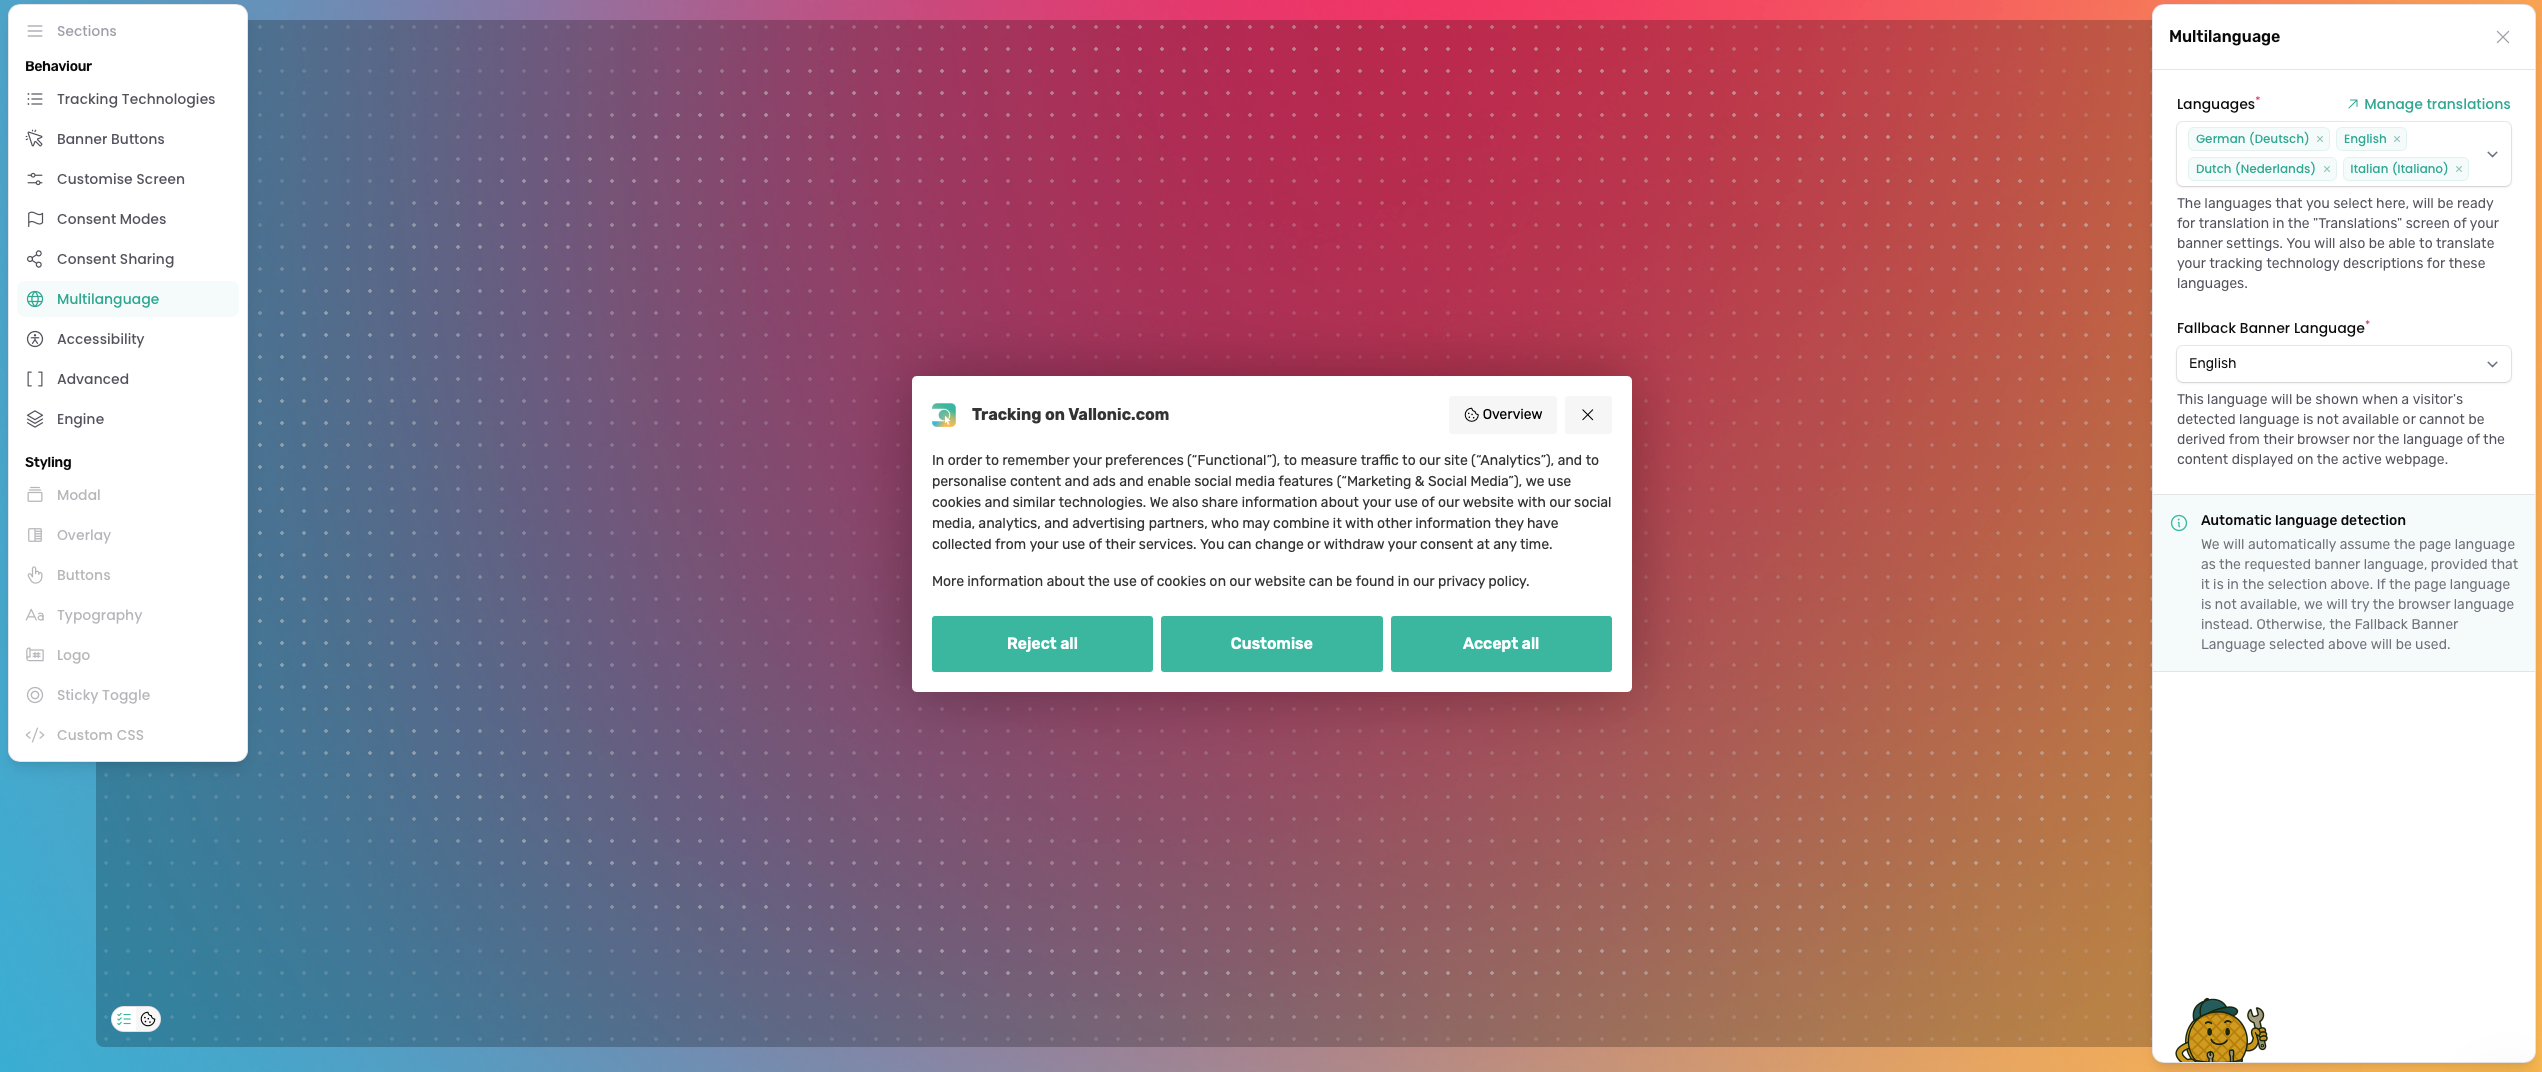
Multilanguage
The Multilanguage tab allows you to manage and add the languages supported by your cookie banner. You can also set the fallback language for the banner.
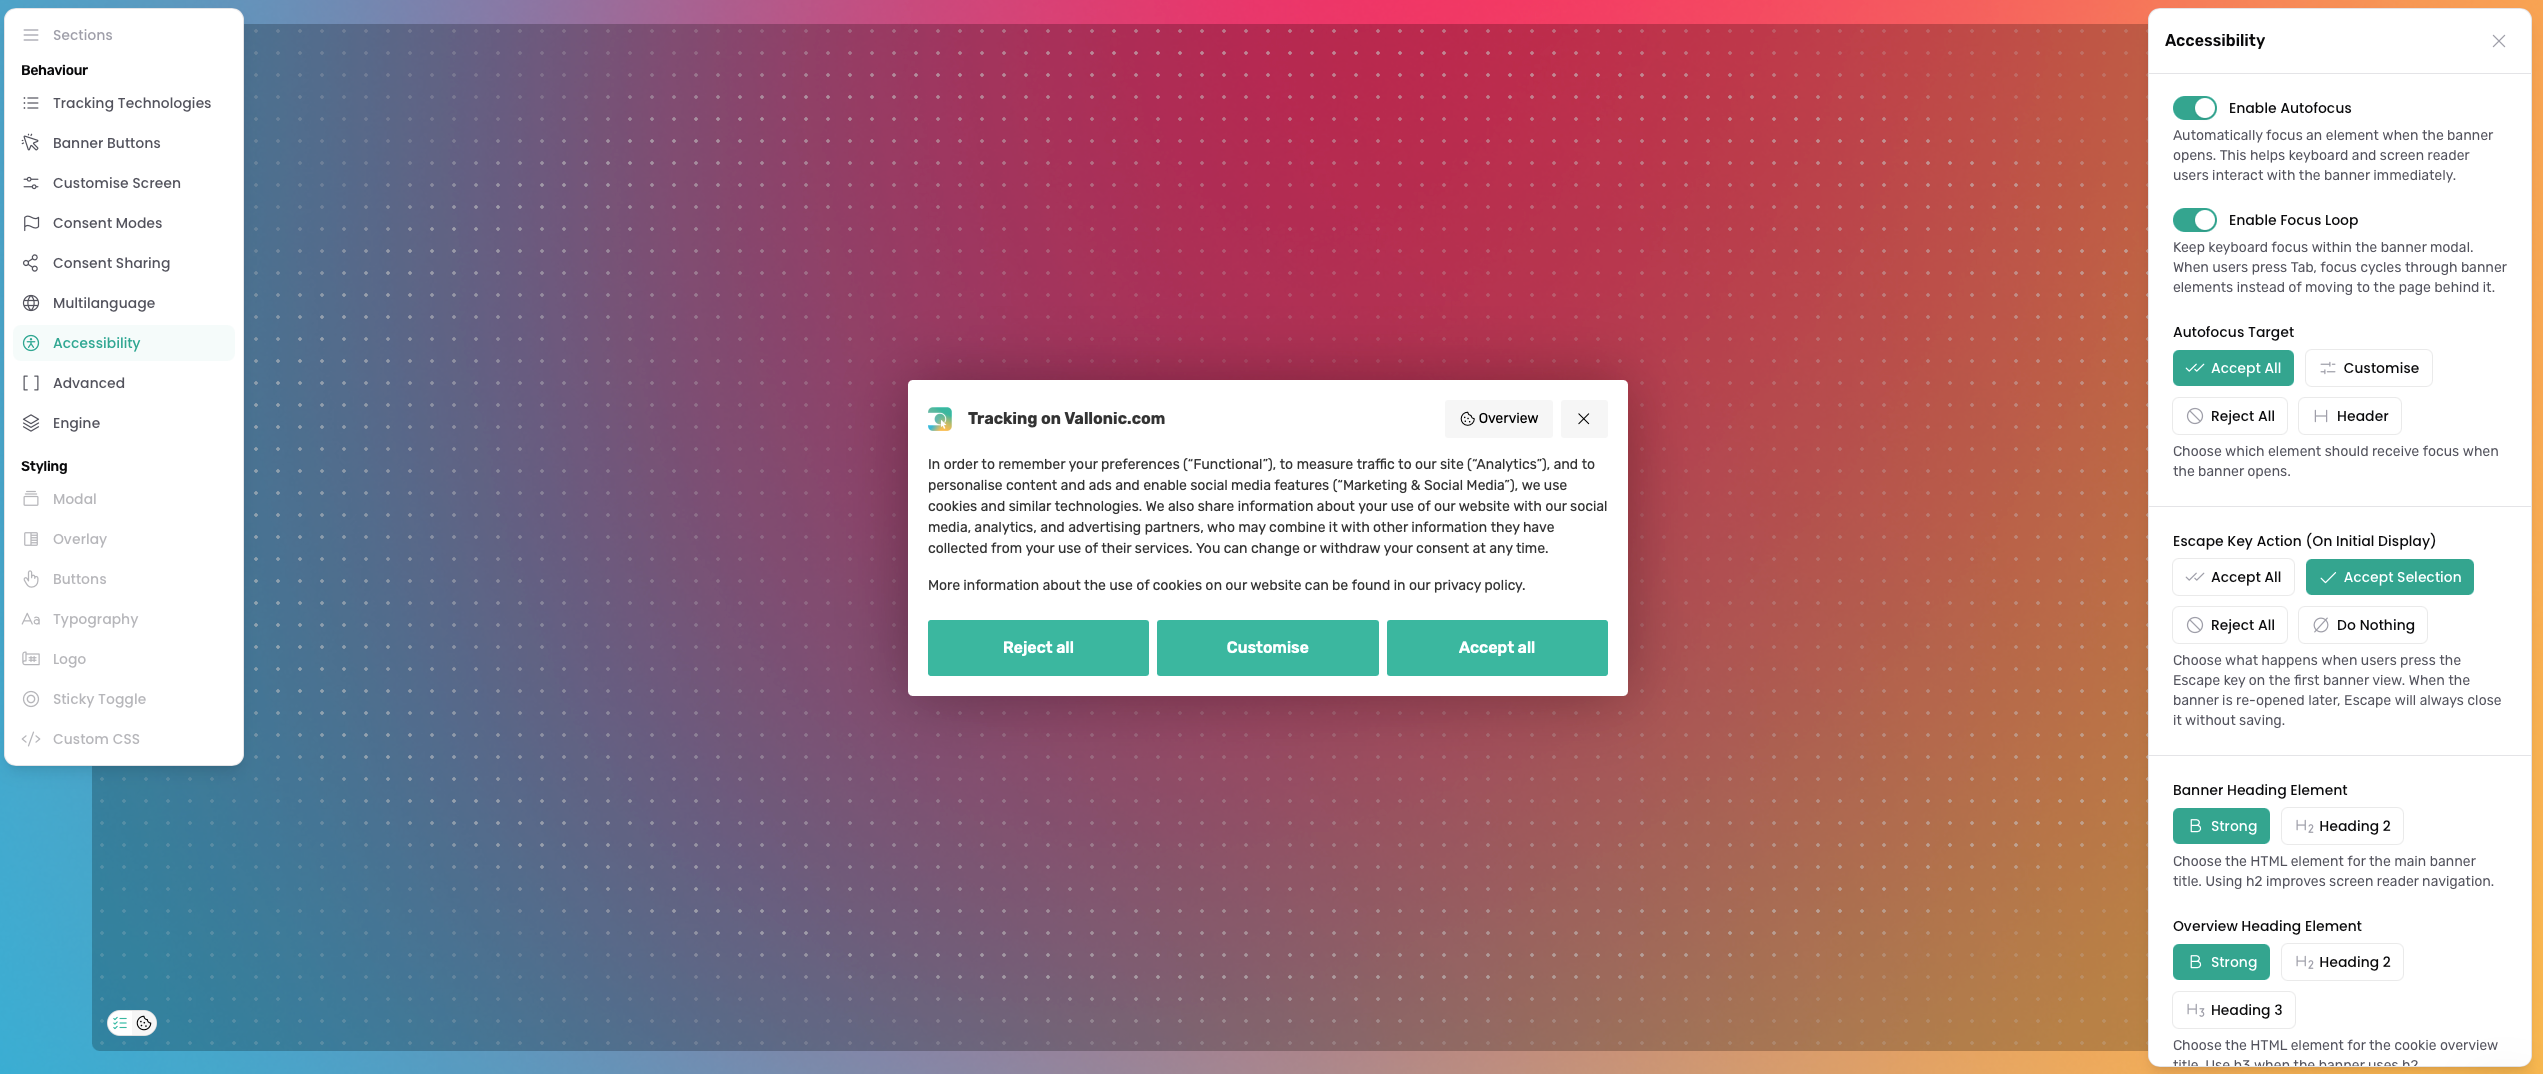
Accessibility
The Accessibility tab allows you to customise accessibility settings for the banner, such as focus behaviour, heading elements and escape key actions.
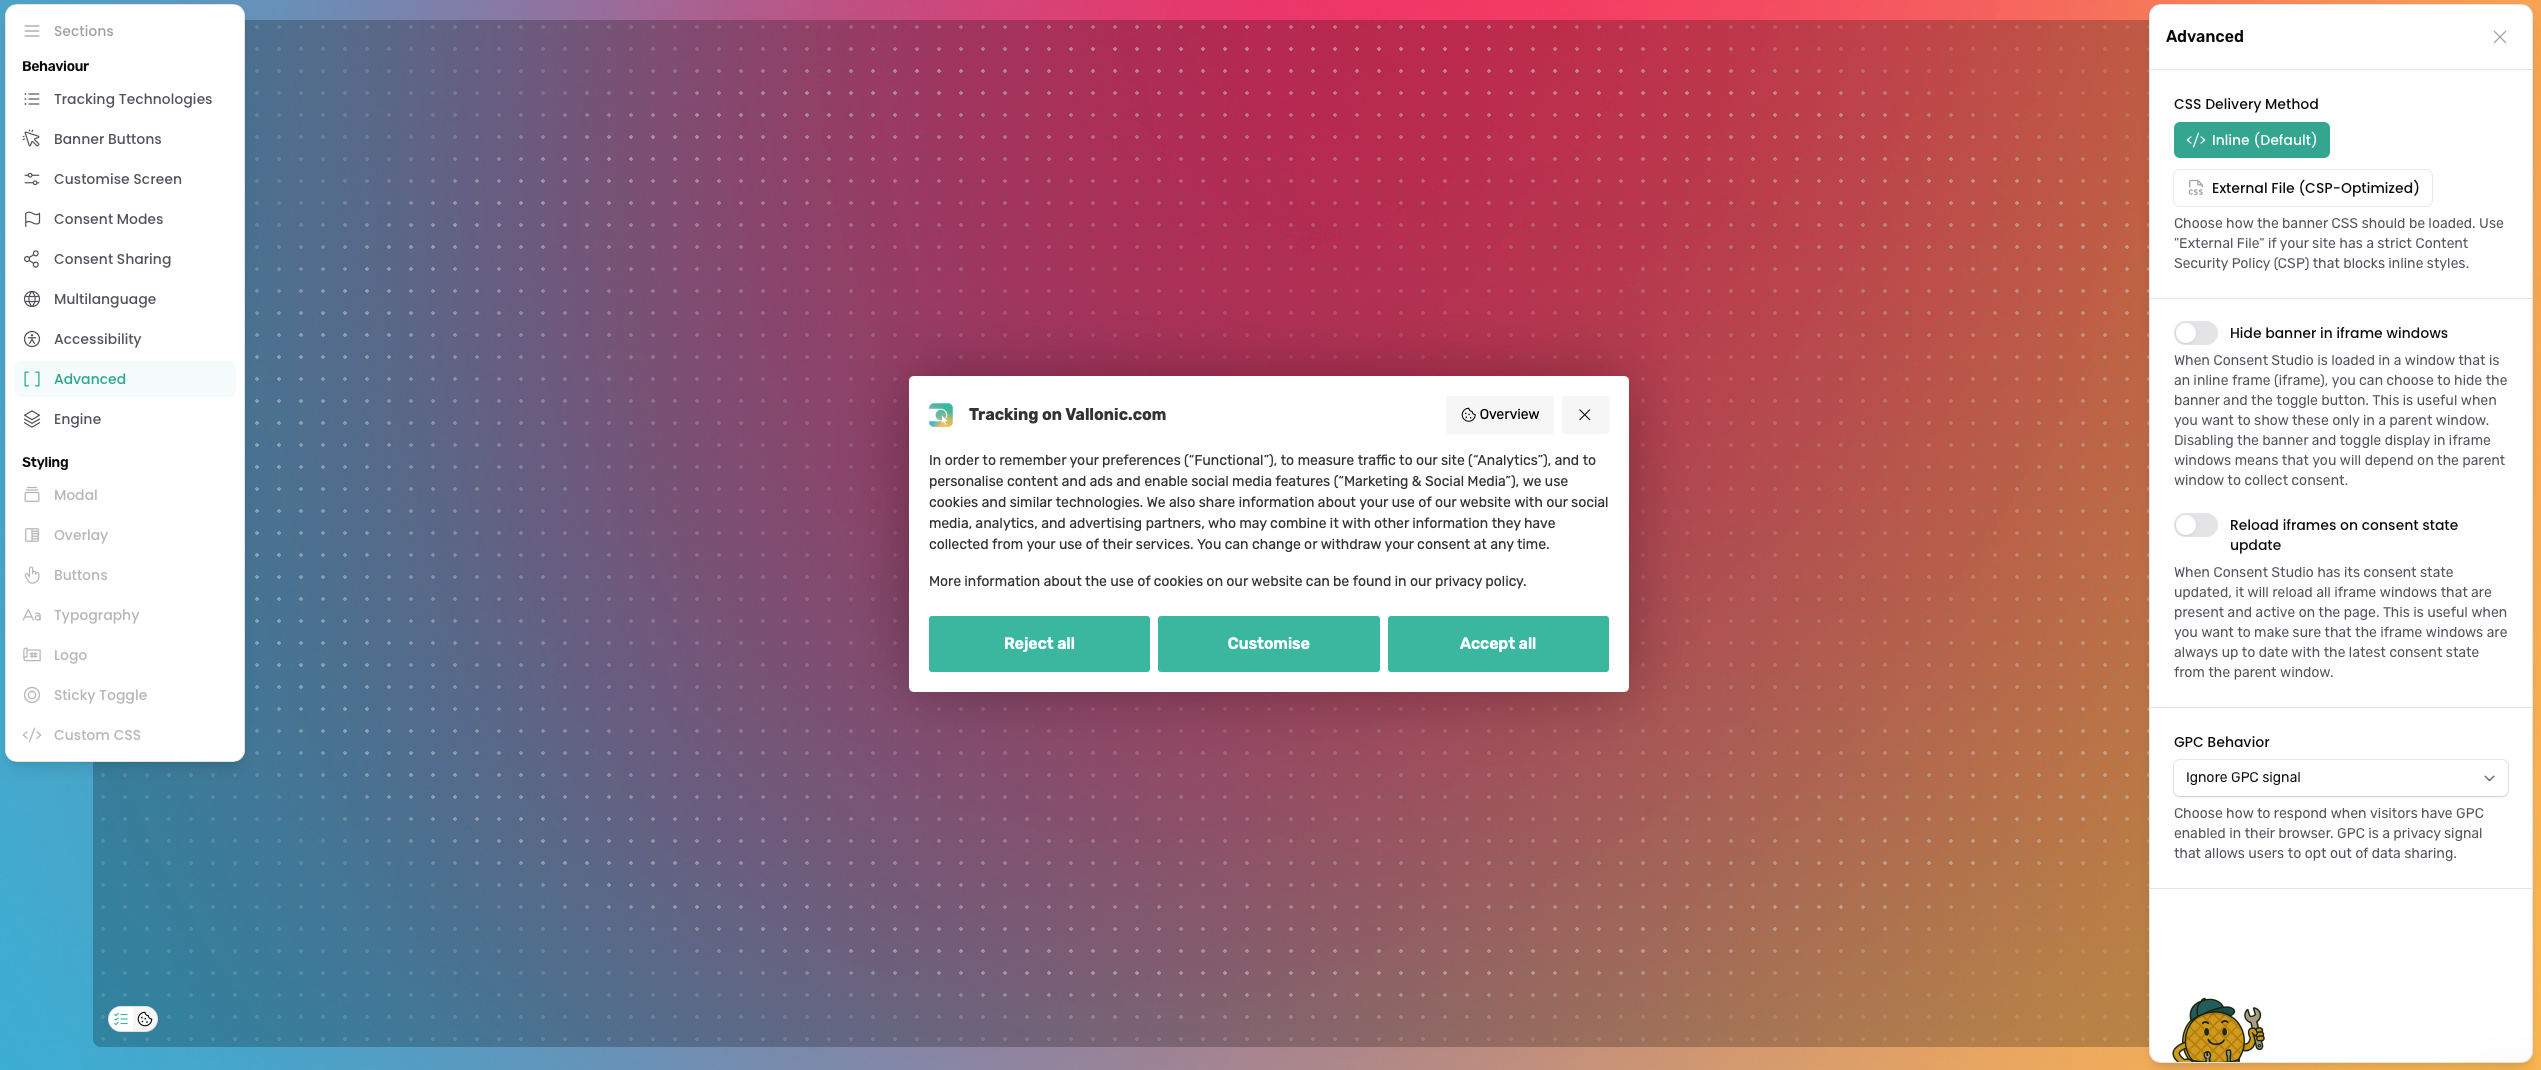
Advanced
The Advanced tab contains additional technical options to fine-tune the behavior of your cookie banner, such as hiding the banner within iframe windows and reloading frames when the consent state updates.
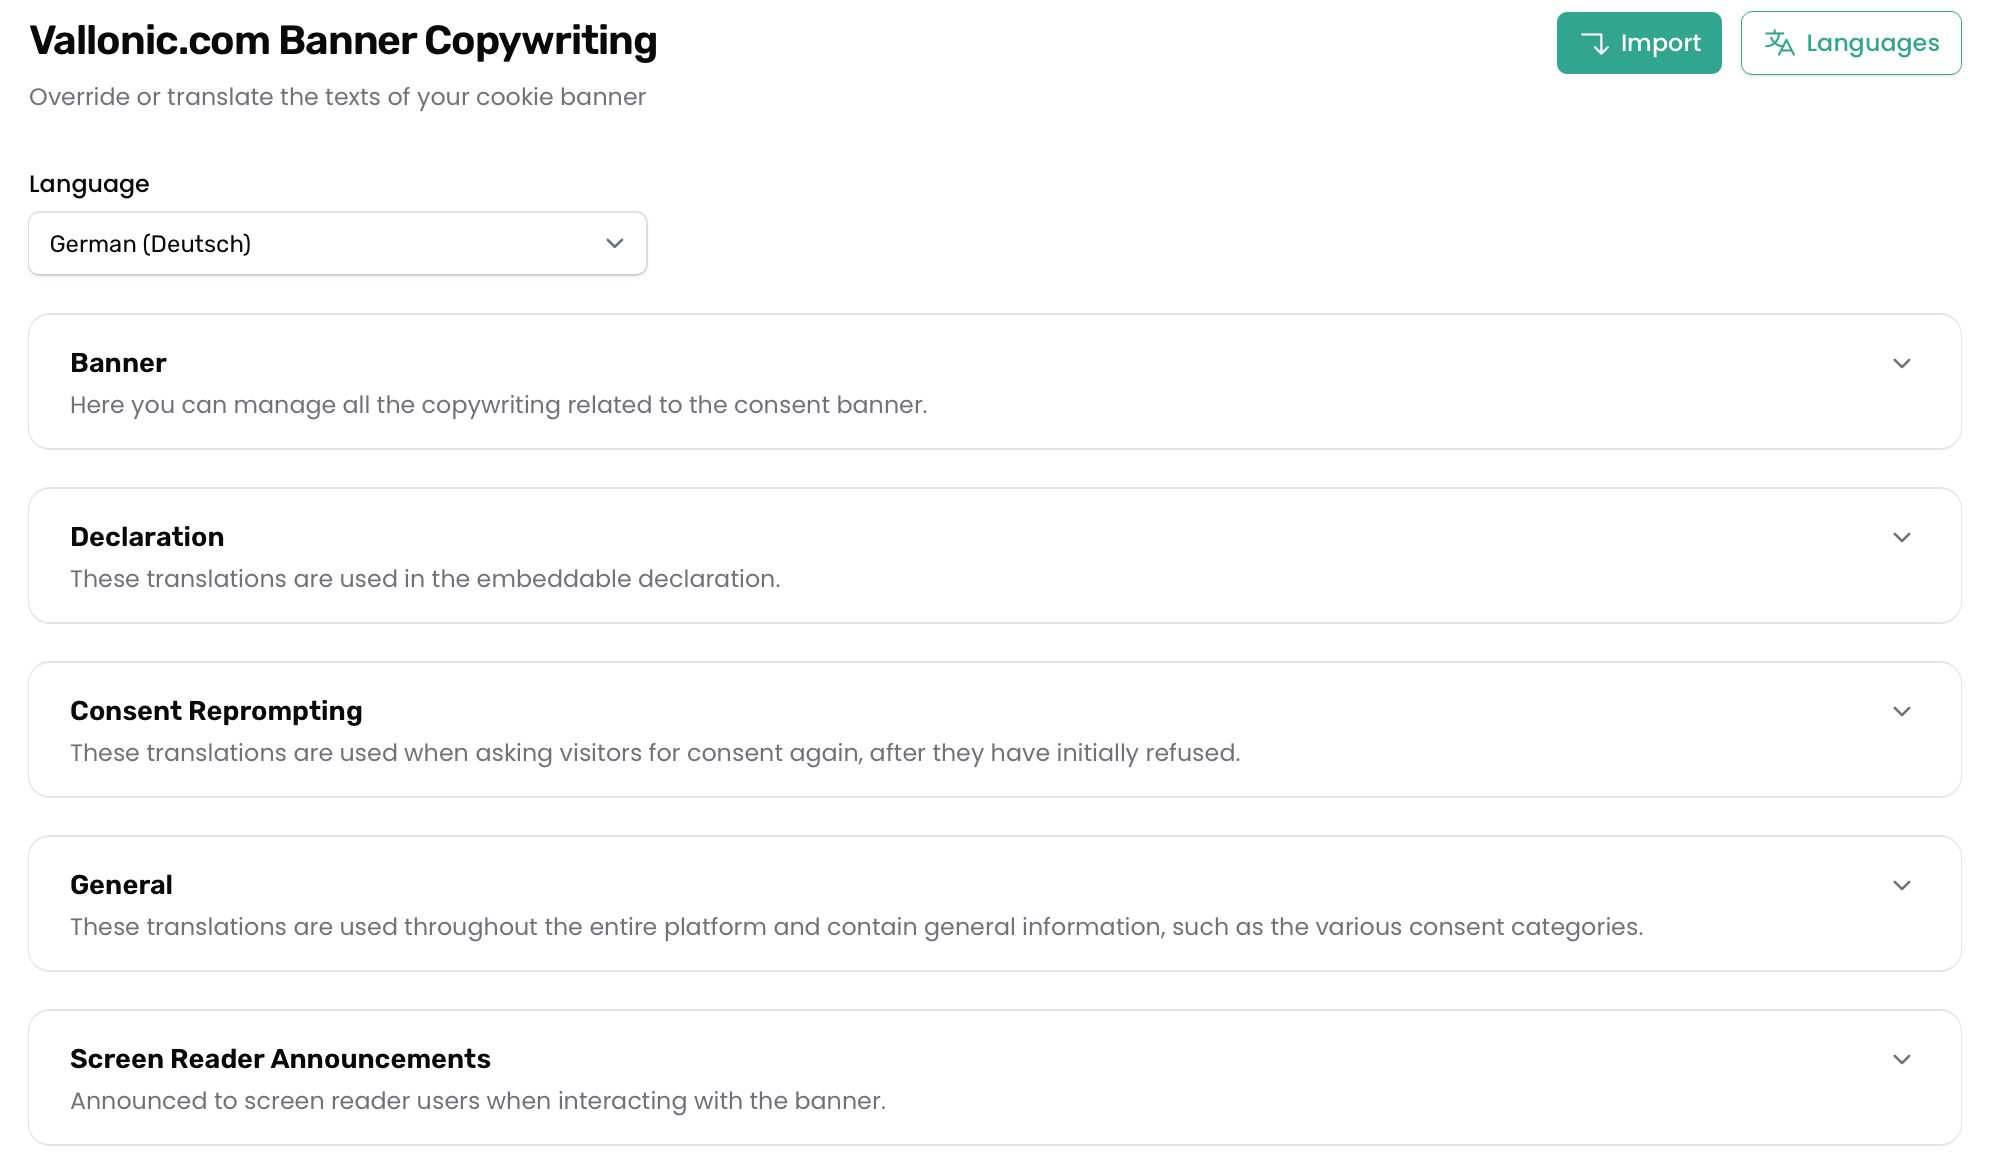
Translations/Copywriting
The Translations tab under Localisation allows you to change the text of your cookie banner for each language you’ve added in the Multilanguage (Web CMP > Behaviour > Multilanguage) settings. The wording of the links below the banner text is in the Links fields of the Banner section. While IAB TCF is on, this page also has an IAB TCF section with the texts of the IAB TCF banner.
Learn more about translations in this article.
Styling
The Styling section can be found under Web CMP > Styling.
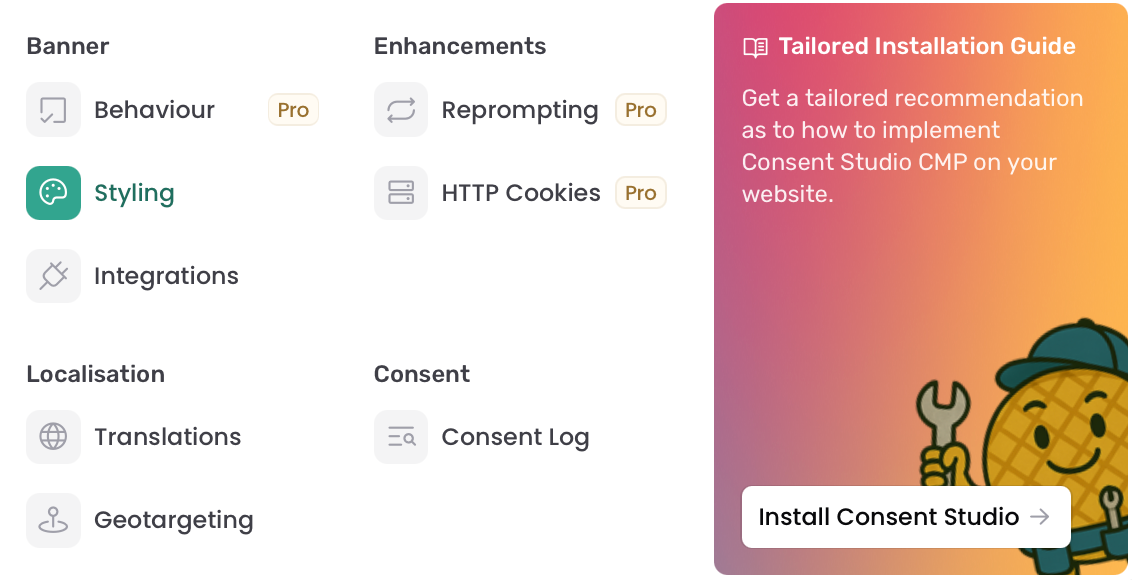
On the right side of the Styling page, you’ll find a live preview of your cookie banner. This preview updates in real-time as you adjust the styling settings, allowing you to see exactly how your banner will look on your website.
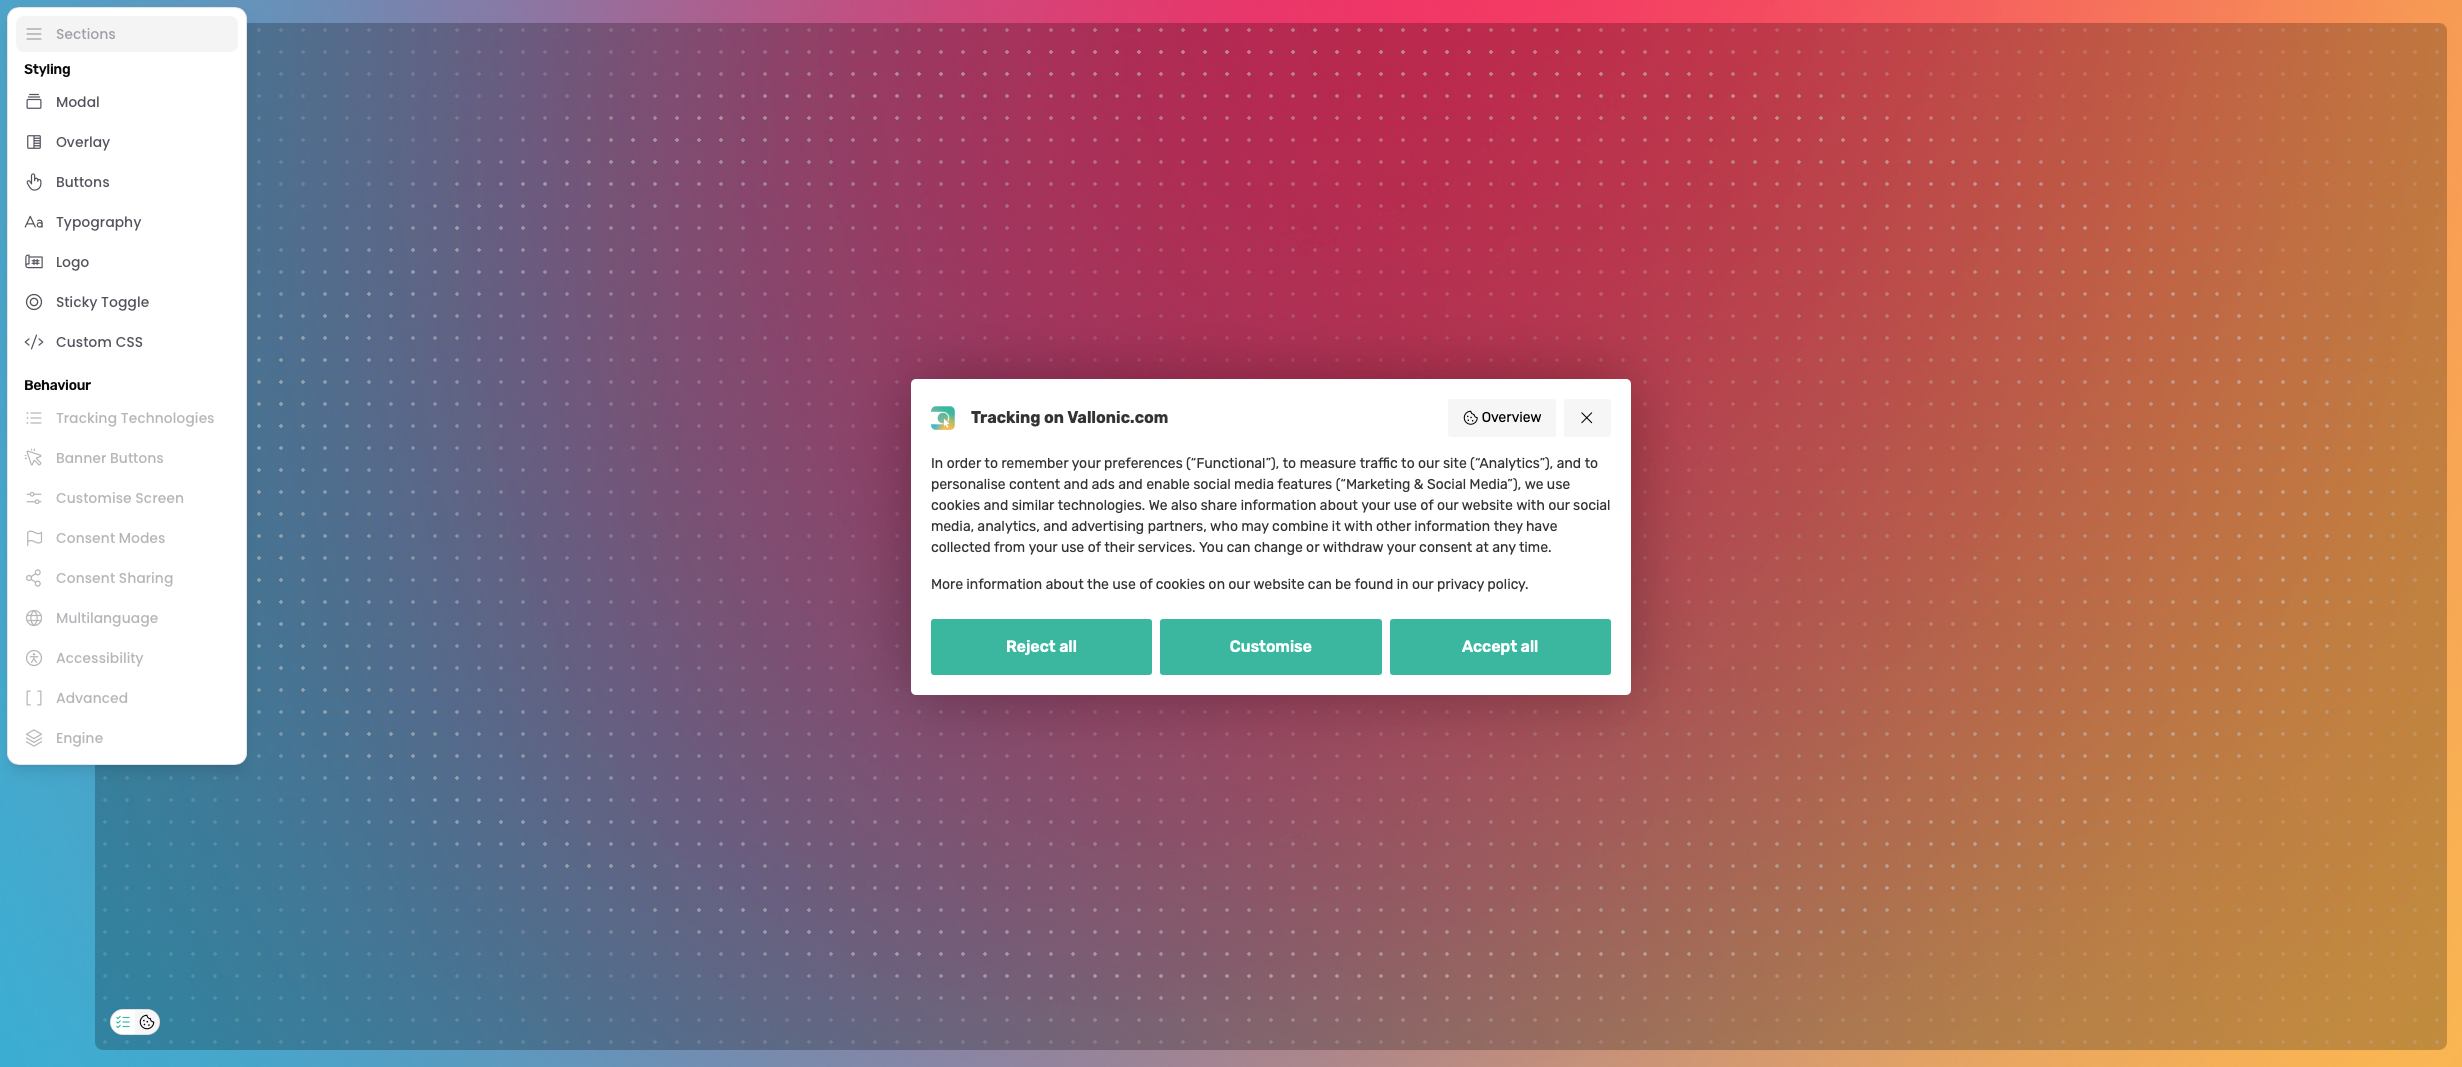
Sometimes, existing styling on your website may conflict with our banner styling. In that case, please contact our support team so we can help you identify the exact issue and perhaps produce the custom CSS override for you to use to tackle the discrepancy! Additionally, please also note that in the preview, we generally do not have the same typography as on your own website.
Banner Modal
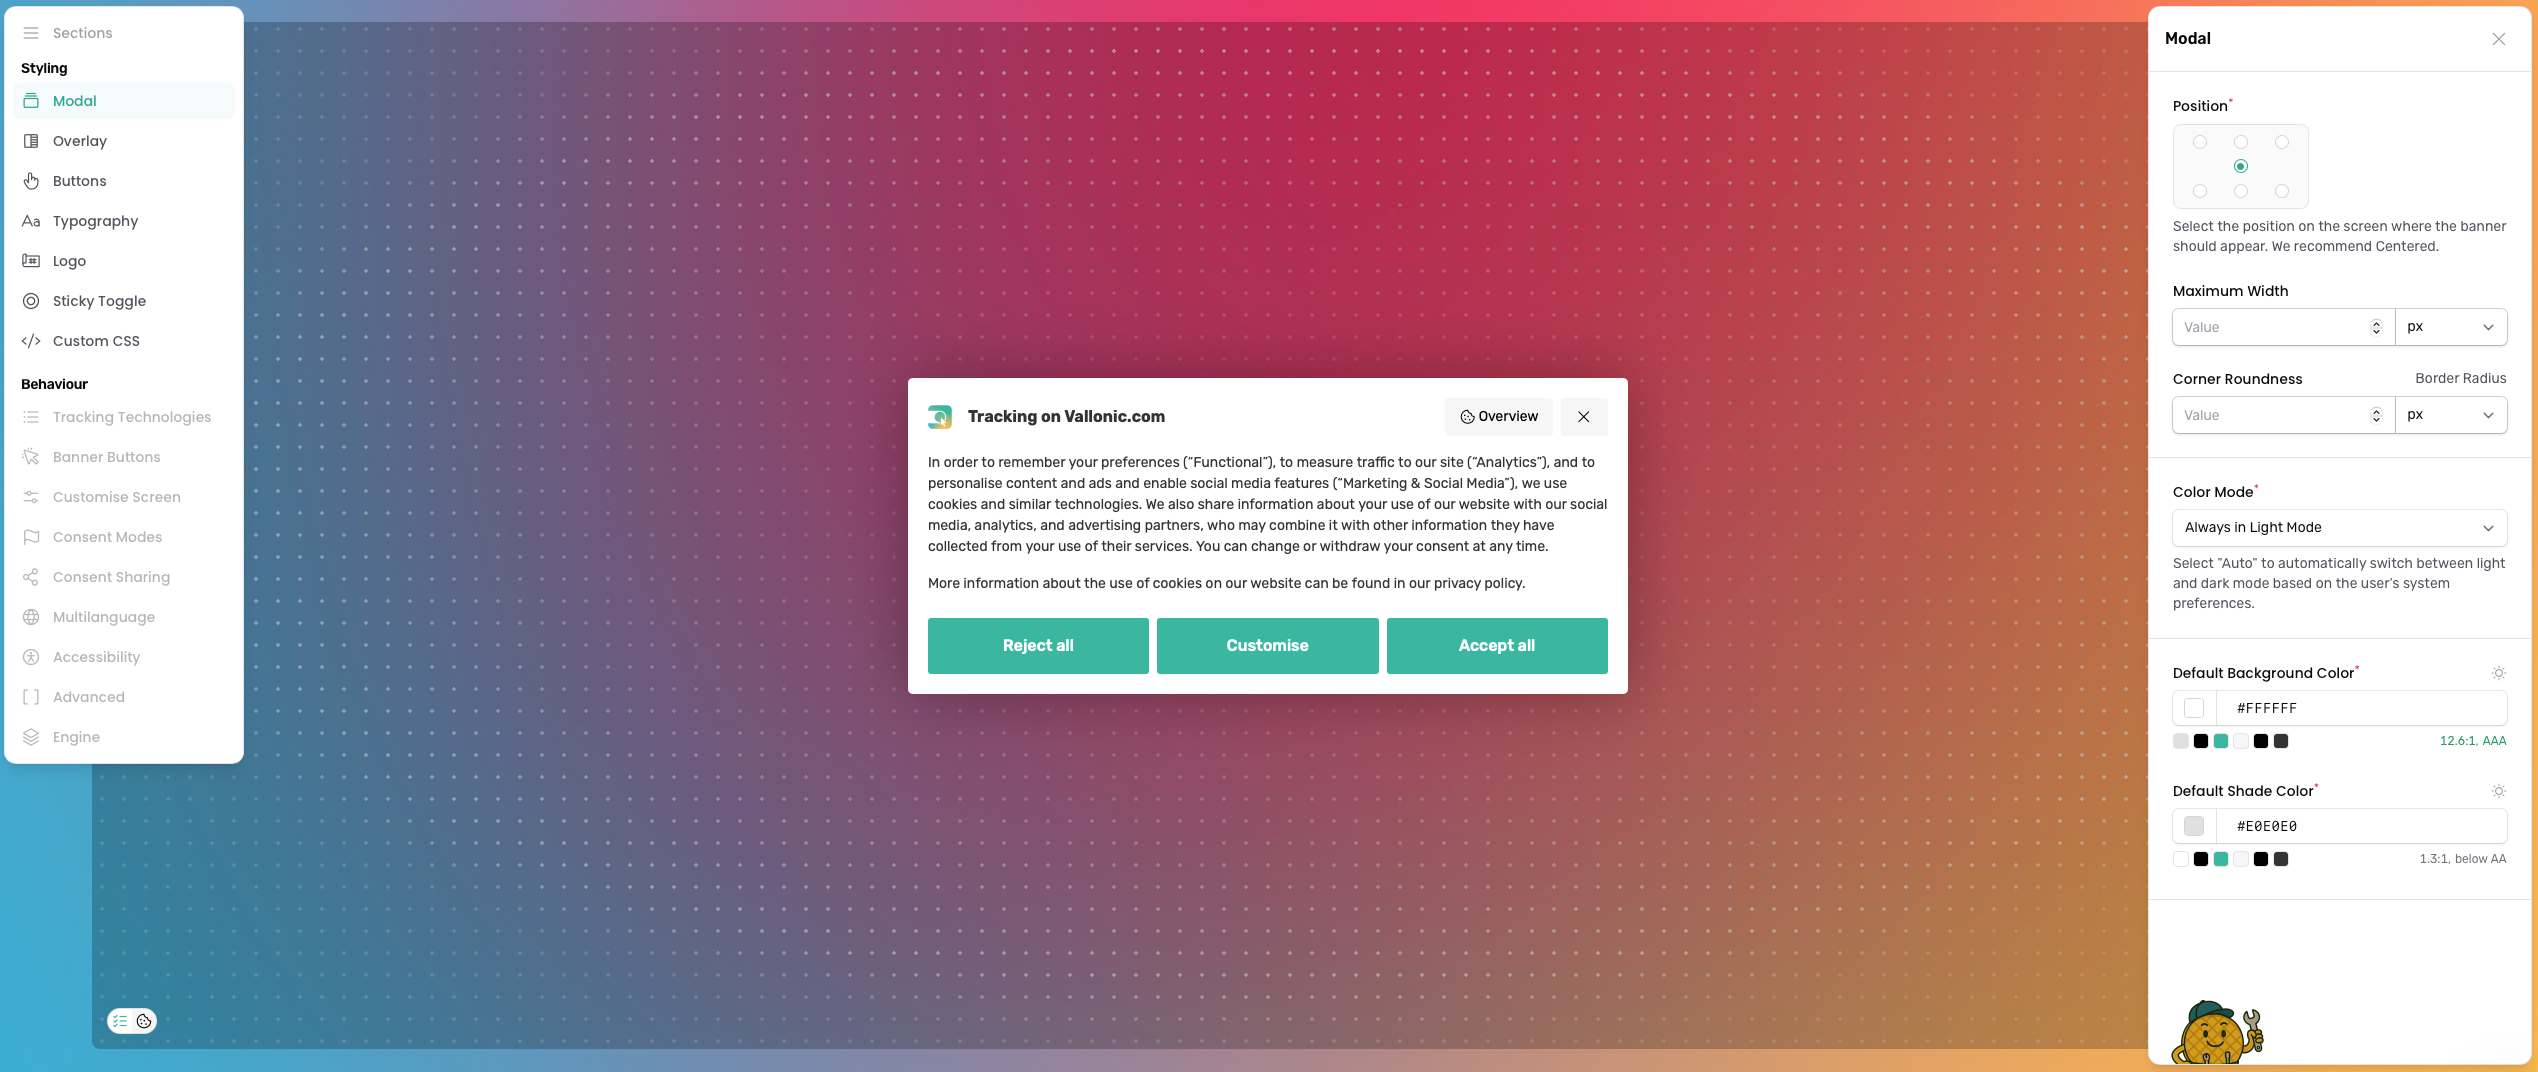
In the Modal tab you can adjust the position, width and corner roundness of your cookie banner. You can also choose how the color mode is applied: always dark, always light, or based on the user’s system preferences. A new banner starts in light mode, so every visitor sees the light version until you change this setting.
If you choose the system preference, your banner gets both a light and a dark version. Each visitor then sees the version that matches the setting on their own device. To check both versions, use the button at the bottom of the preview to switch between light and dark. When the system preference is selected, the preview follows the setting of your own device, just like on your website.
Overlay
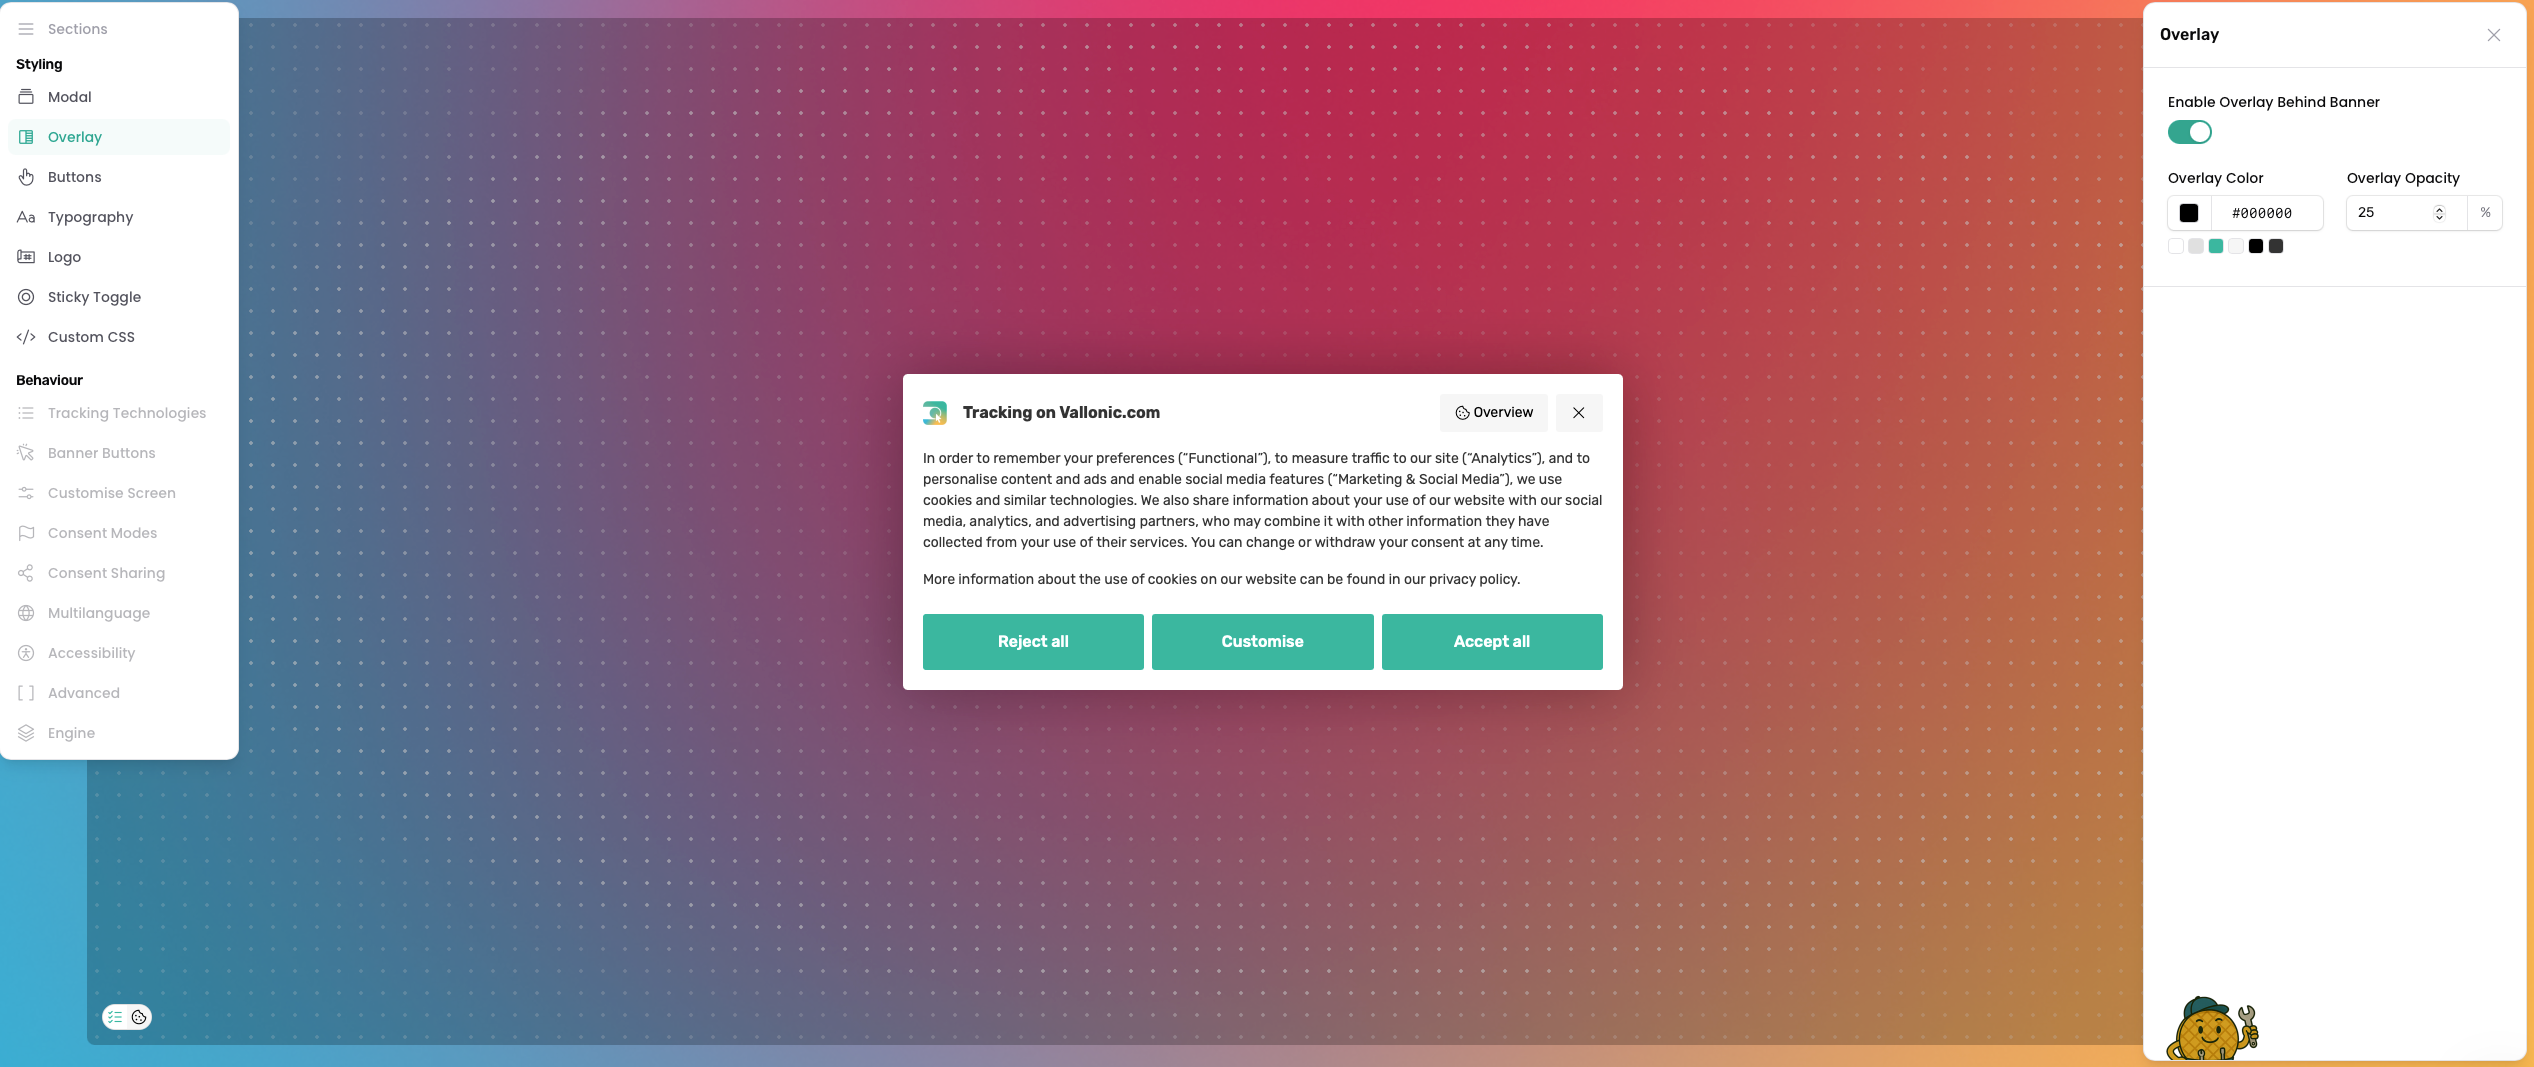
The Overlay tab allows you to enable and manage the overlay displayed behind the banner.
Actions
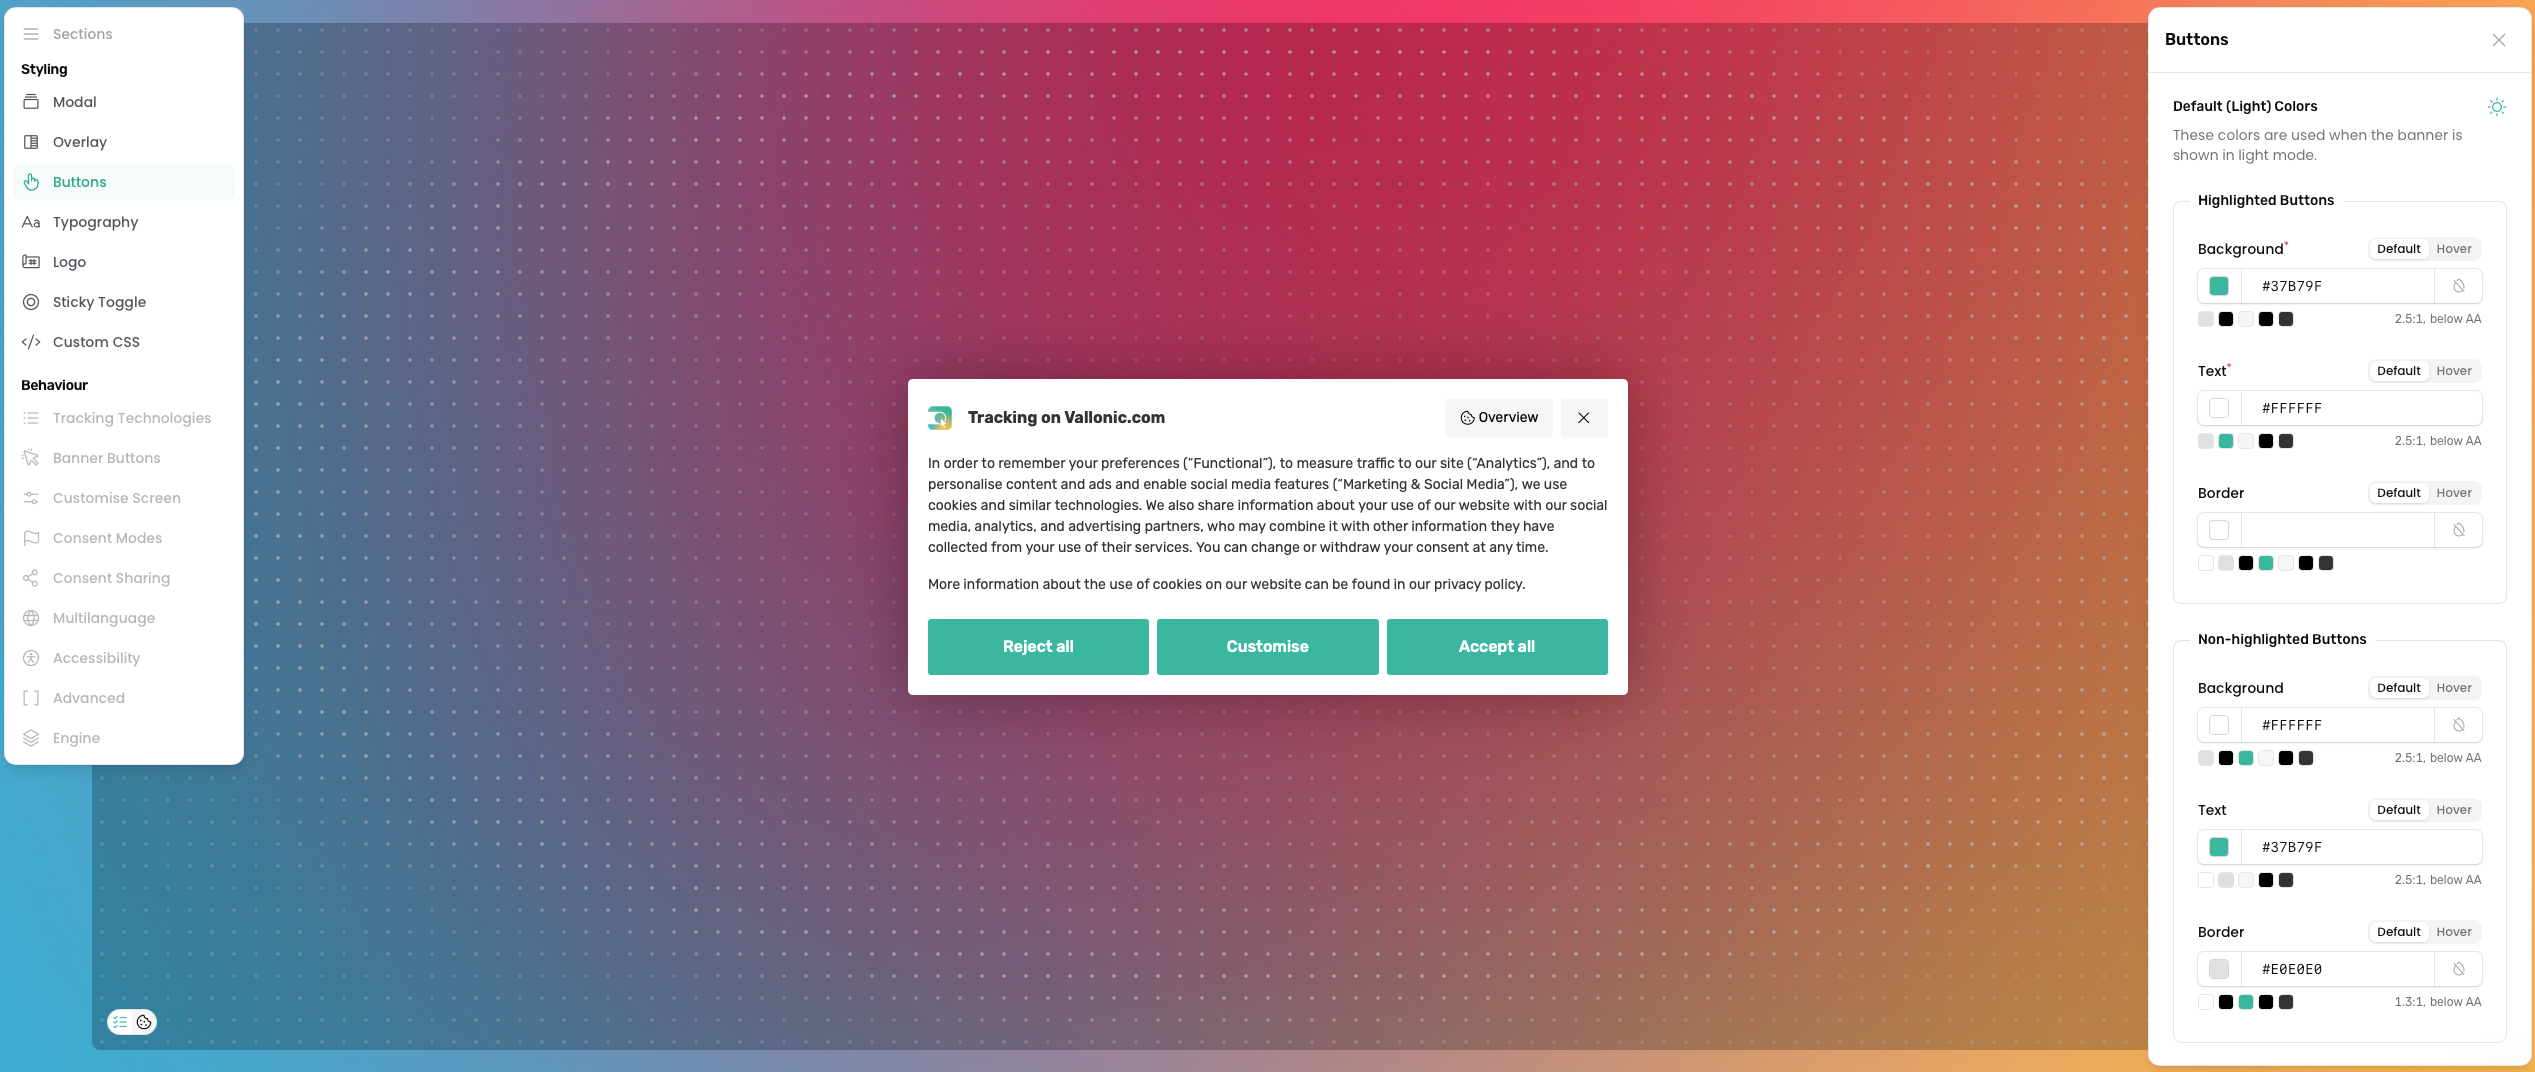
In the Actions tab you can customize the colors of primary and secondary buttons, including hover and text colors. You can also style header actions by setting static and hover colors, and adjust the roundness of all buttons.
The category toggles in the banner use the Background colour of the Highlighted Buttons when they're switched on, so changing that colour changes the toggles too. To give the toggles a colour of their own, use Custom CSS. See How to apply custom CSS.
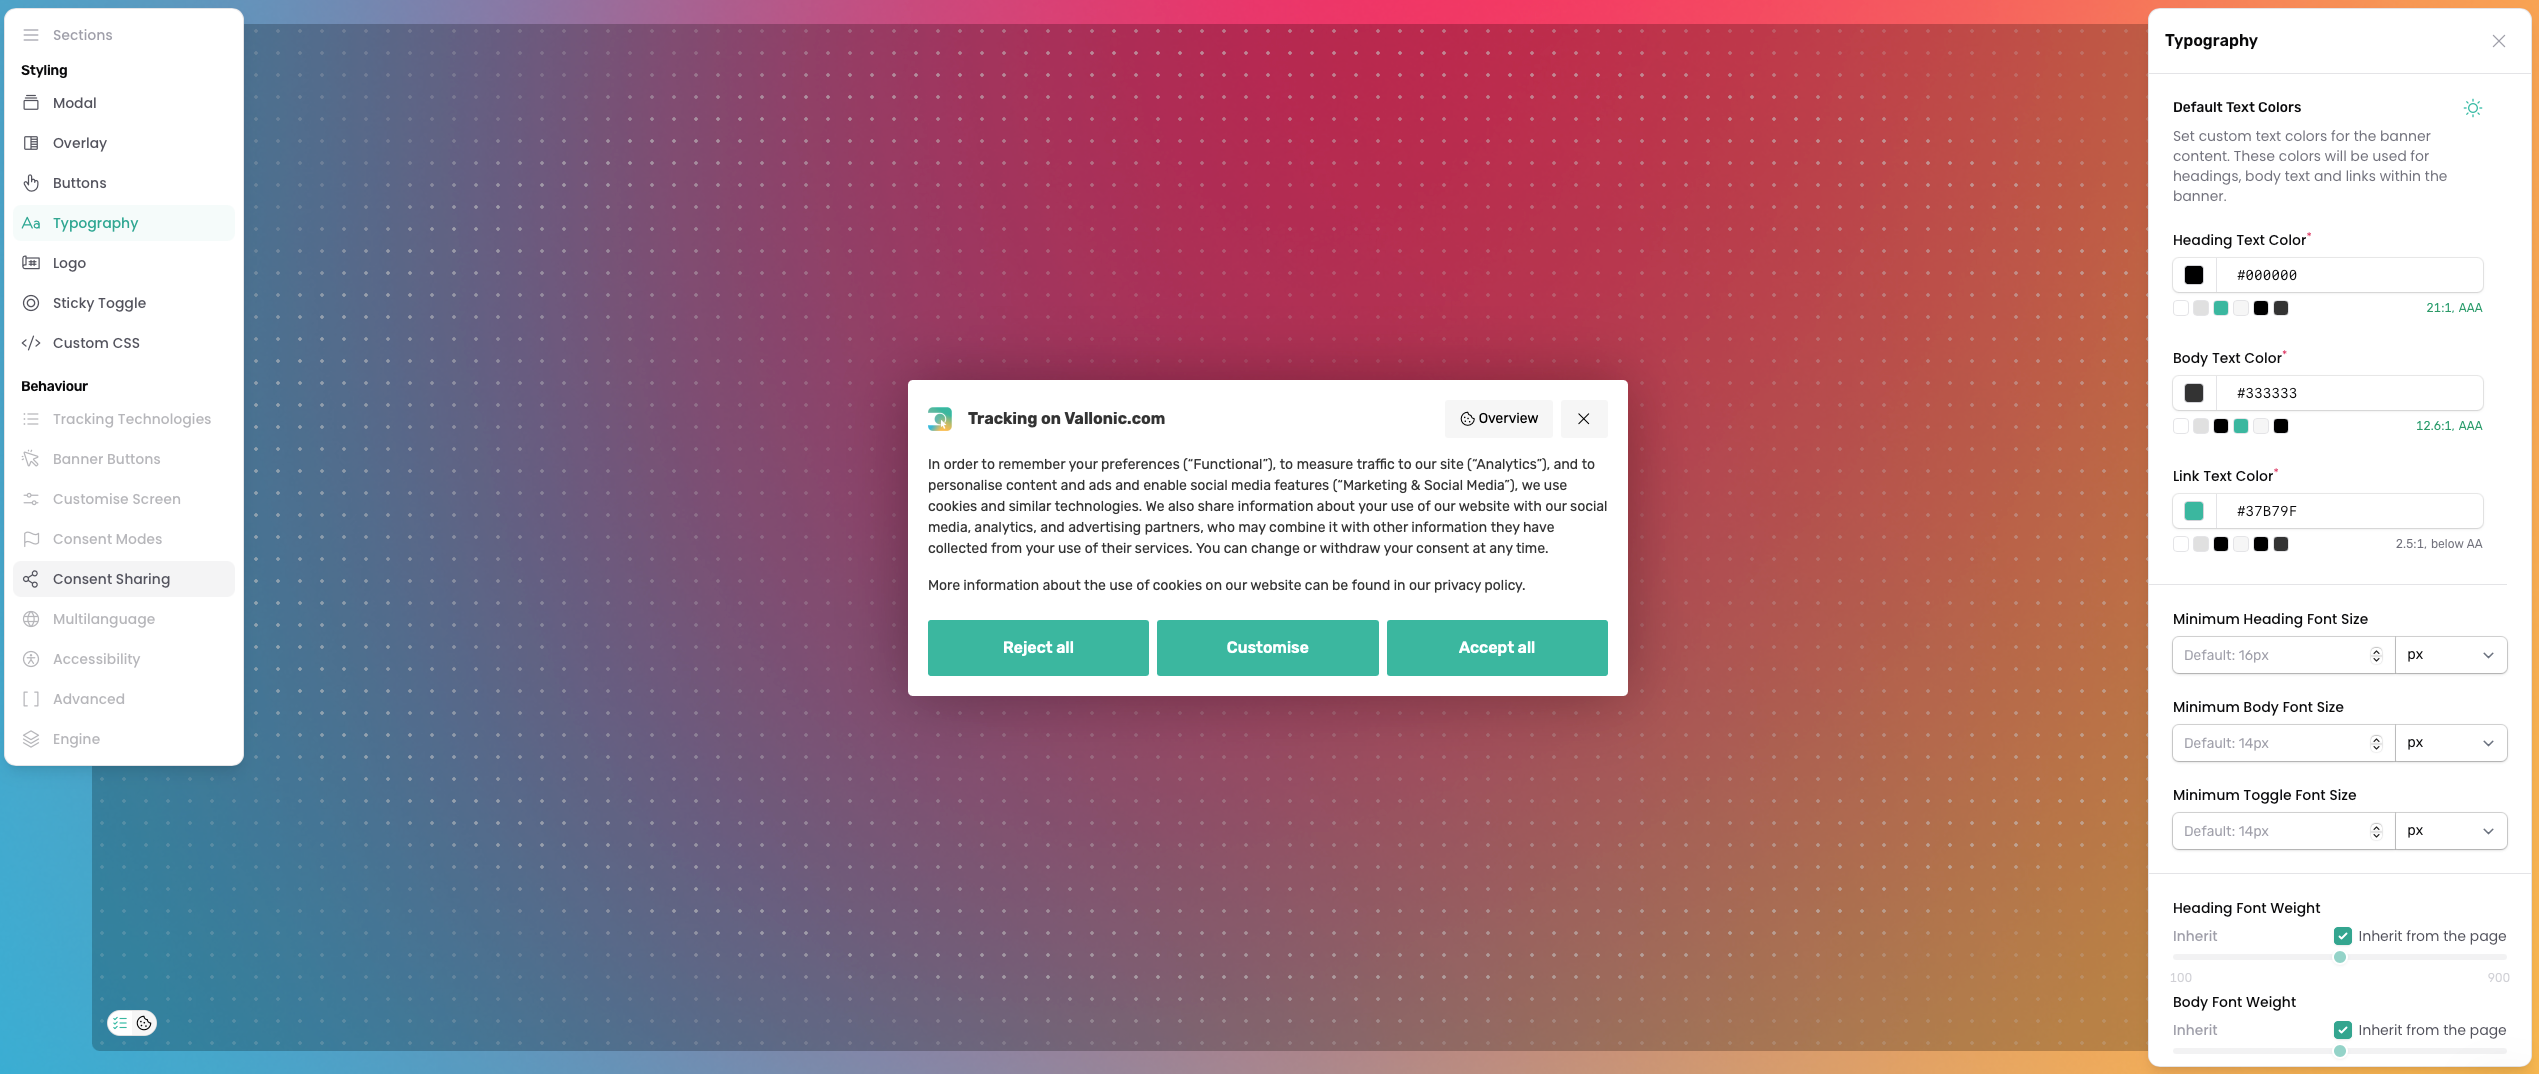
Typography
In the Typography tab you can adjust the font size for headings and body text, and customise text colors for headings, regular text and links. Your banner automatically uses the font of your website, so it matches your site without any setup. To use a different font in the banner, add it with Custom CSS (see How to apply custom CSS).
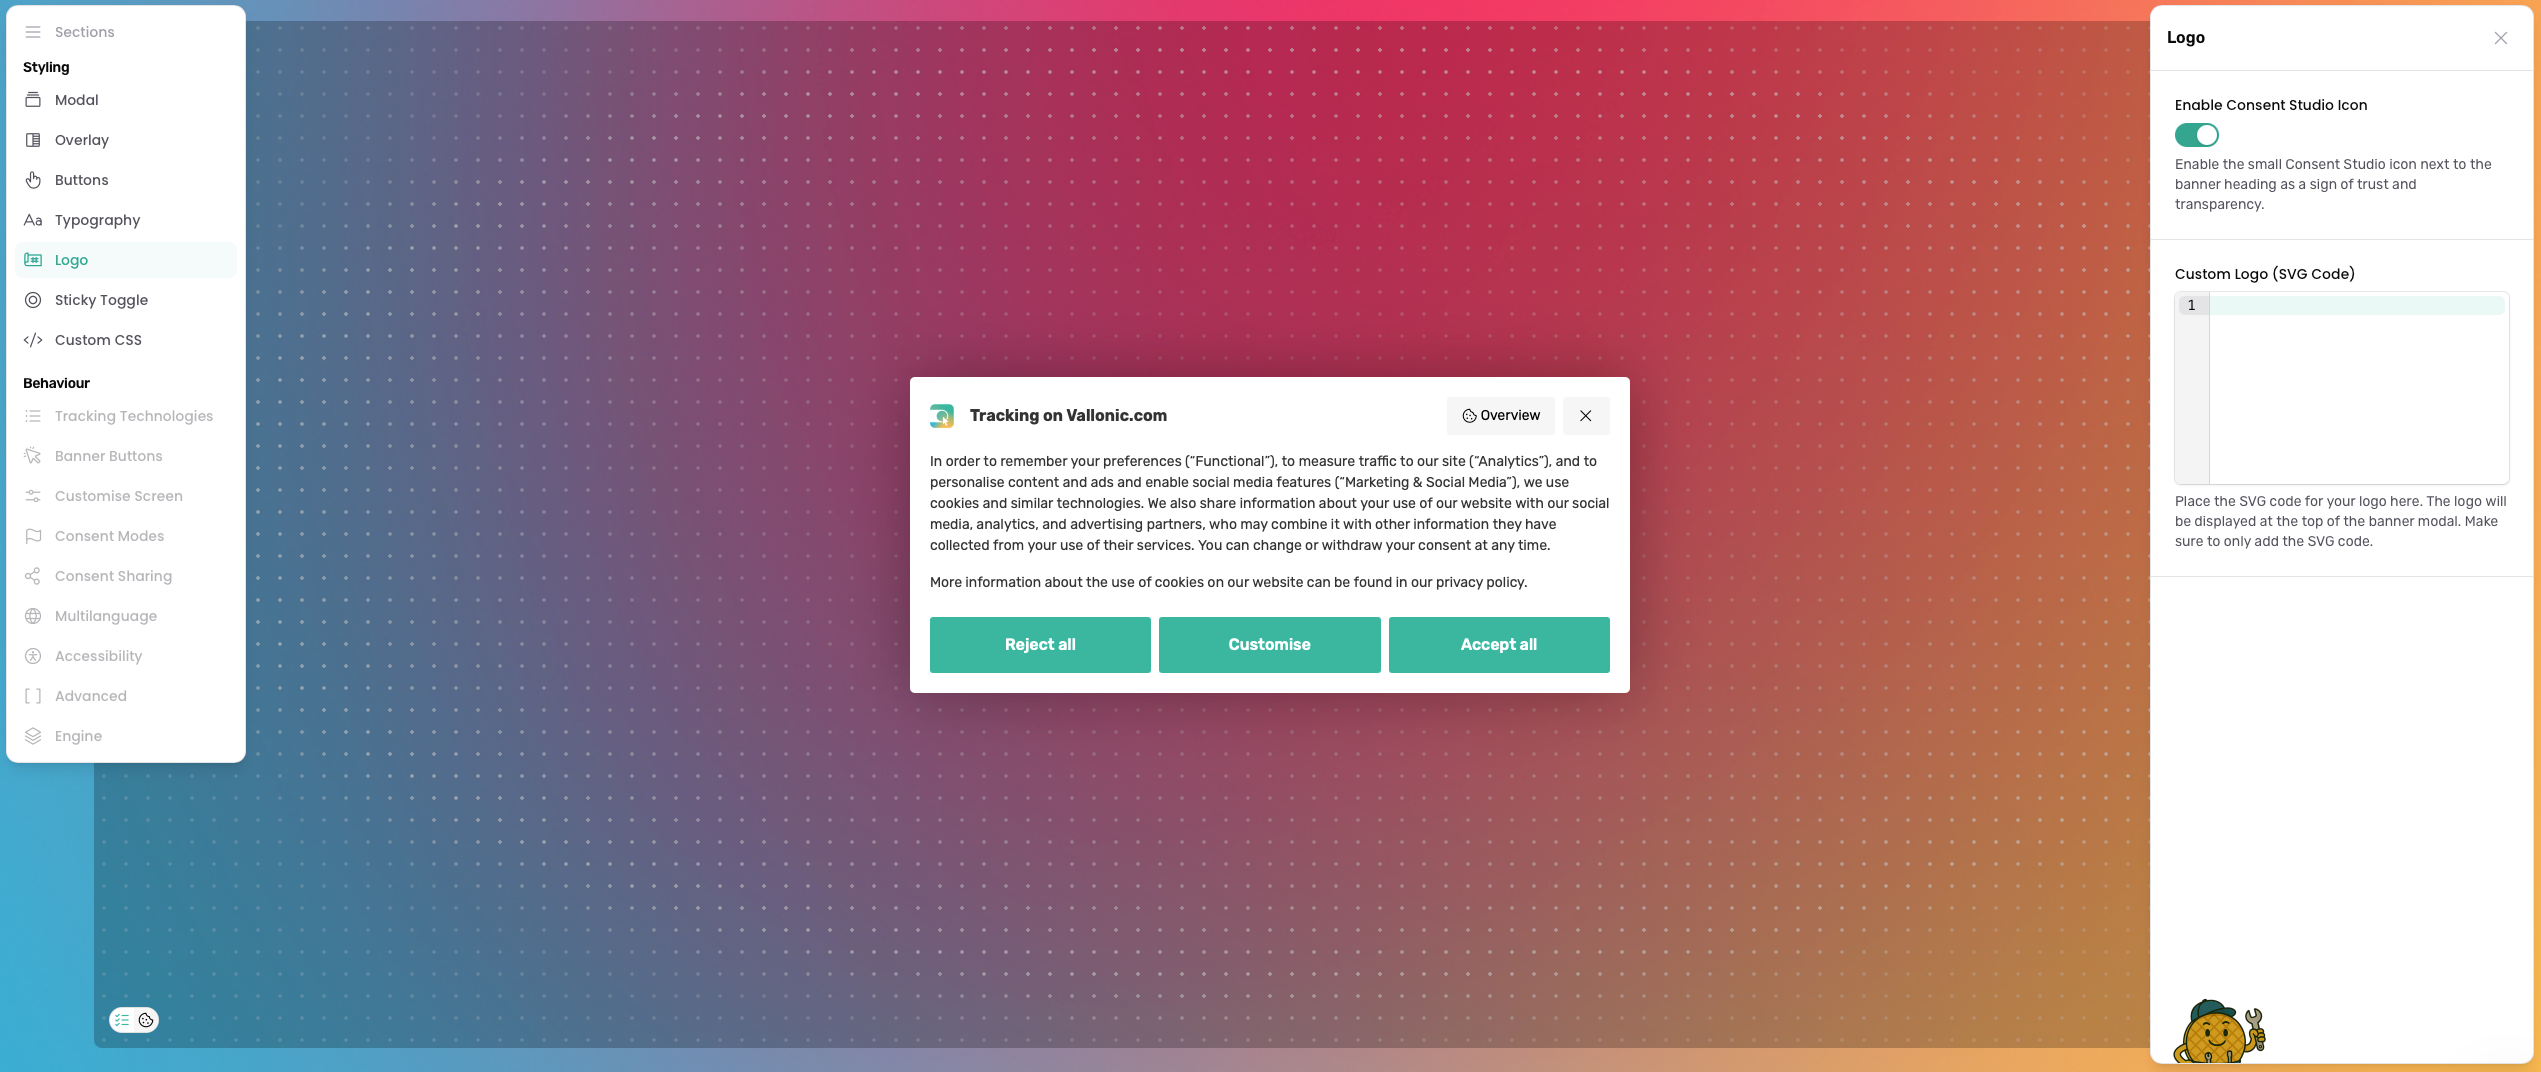
Logo
Here you can choose to enable or disable the Consent Studio logo or upload your own logo. Uploaded logos must be in SVG text format.
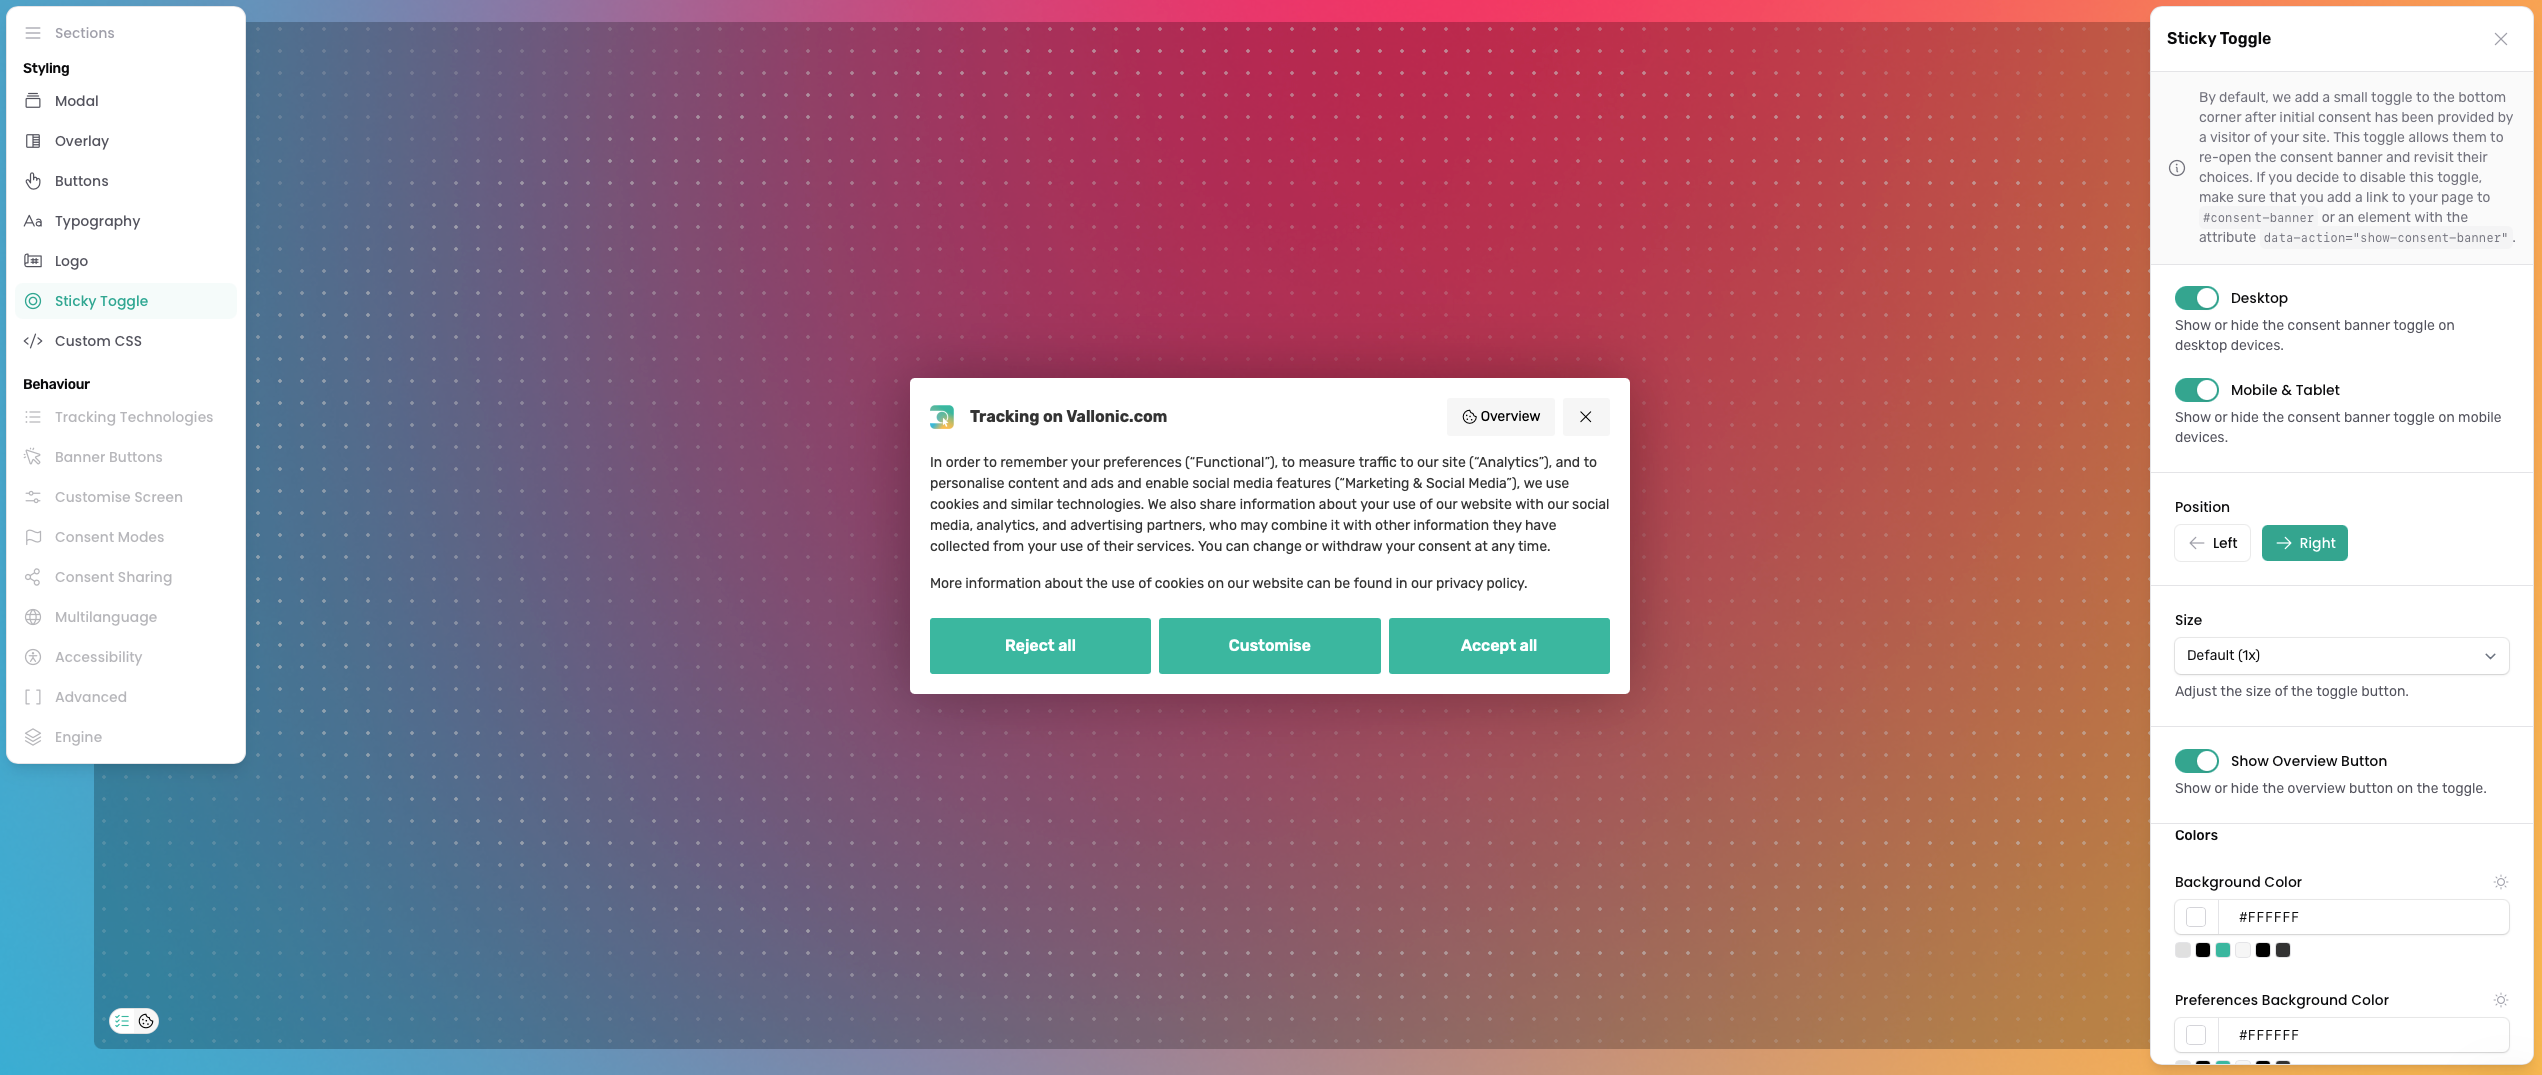
Sticky toggle
In the Sticky toggle tab you can enable or disable the consent toggle for desktop and mobile devices, and choose whether the icon appears on the left or right side of the screen. You can also customise the size, icon and color of the sticky toggle.
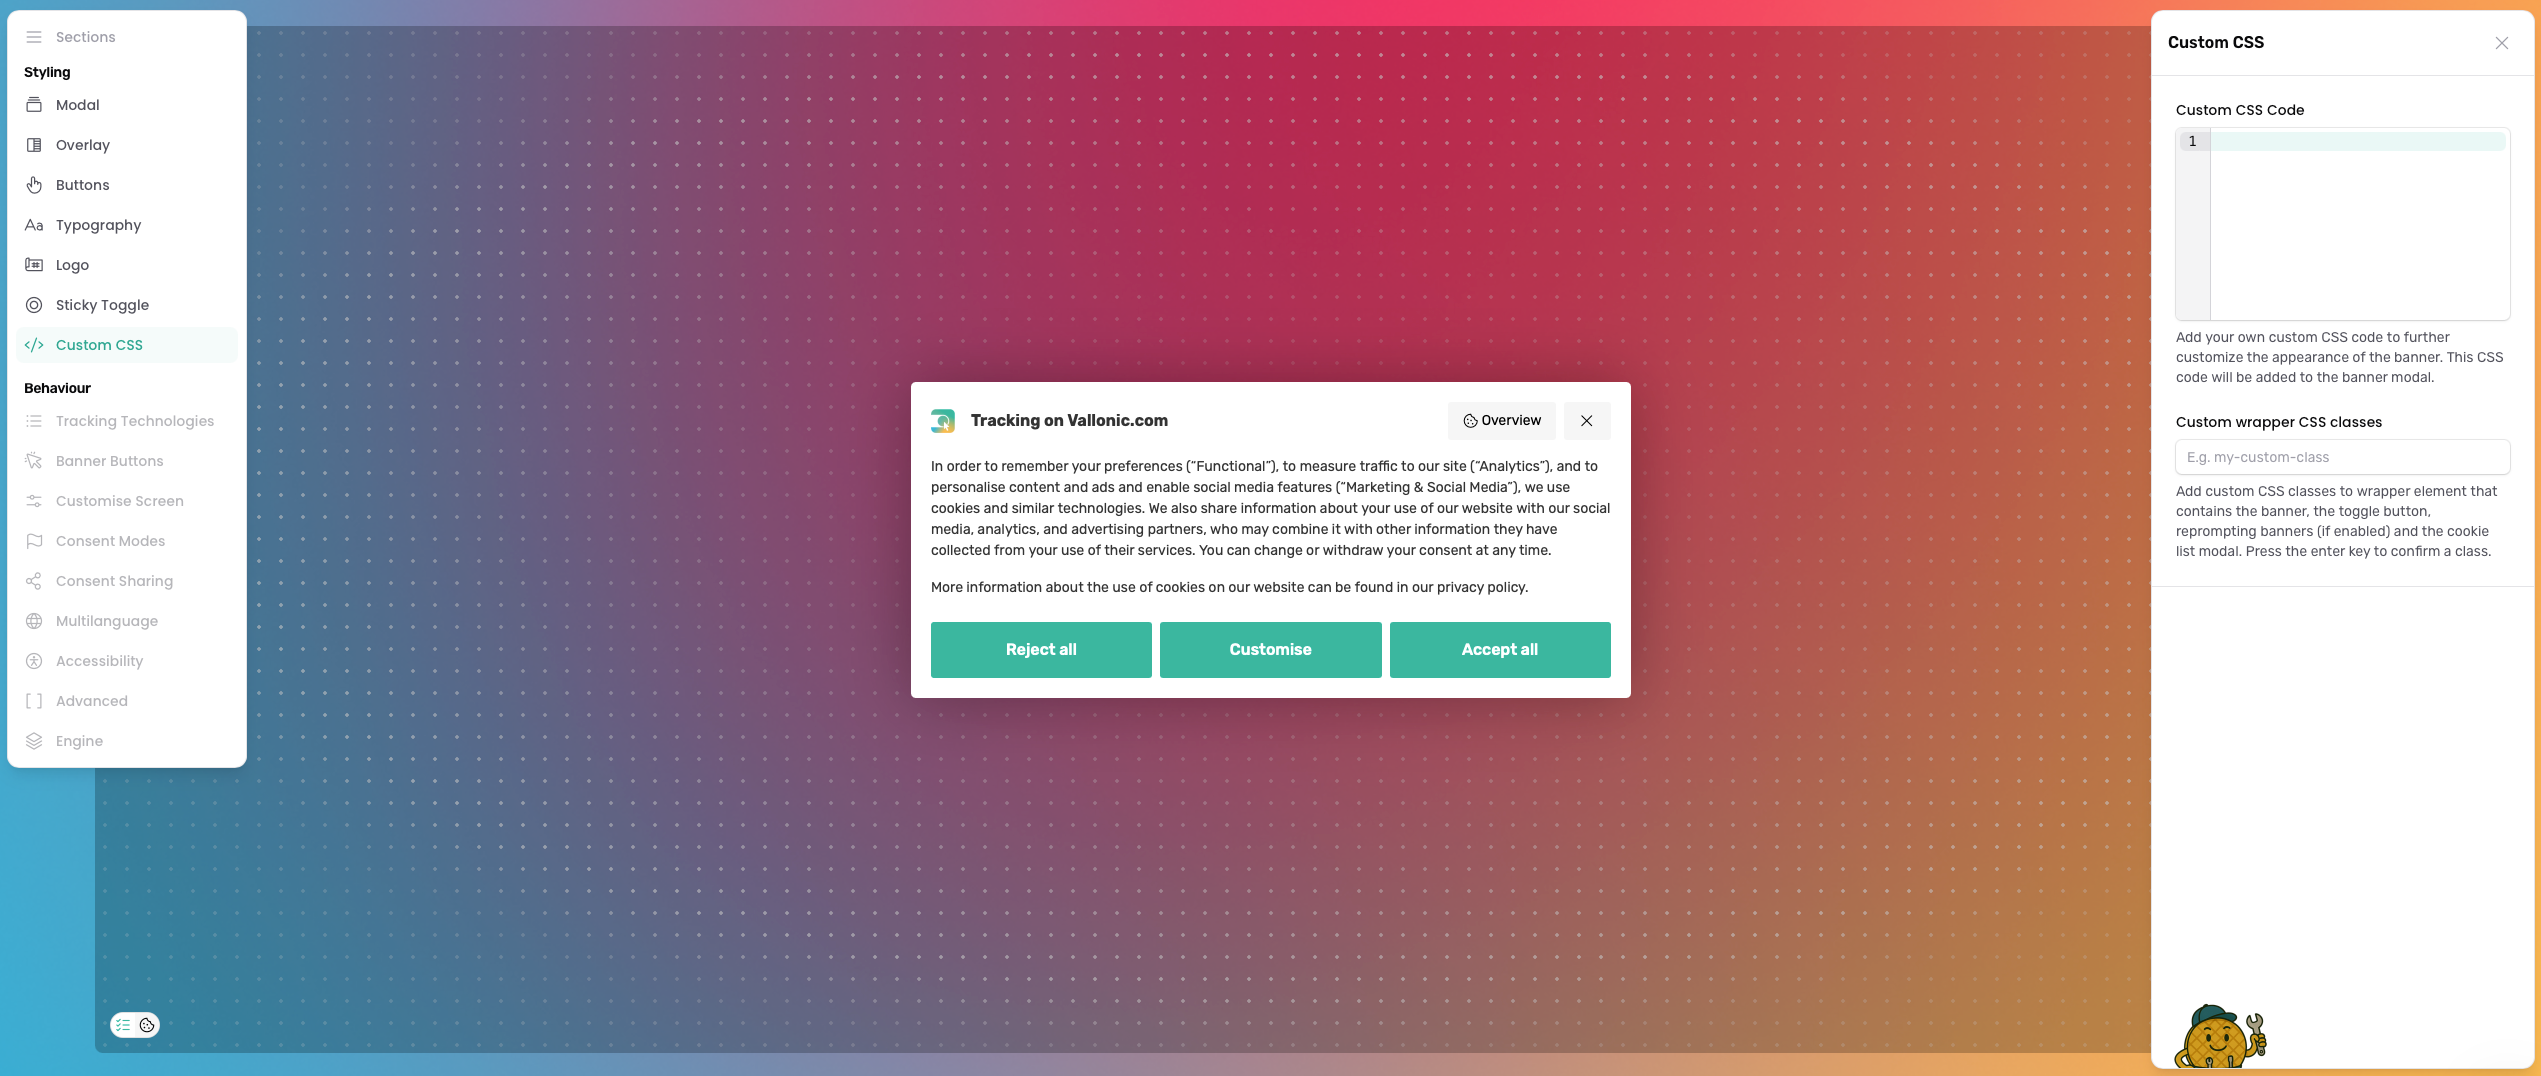
Custom CSS
In the Custom CSS tab you can add your own CSS to further customize the styling of your cookie banner beyond the available settings.
Geotargeting
For more information on how to use Geotargeting, please refer to this article.
Installing the Consent Studio Banner
For information about how to install the banner on your site, please refer to this article.
Was this helpful?
Still need help? Ask the team