What is Consent Studio Launcher?
Meet Consent Studio Launcher and learn all about our product
Last updated 3 months ago
Europe’s first Consent-Aware Client-Side Tag Manager
Launcher is Consent Studio's built-in tag manager. It's where you add the scripts that make your website measurable and marketable, like Google Analytics, Meta Pixel, Reddit Pixel, Matomo, Microsoft Clarity, and everything in between.
Unlike a standalone tag manager, Launcher is consent-aware out of the box: tags know which cookies they set, which consent category they need, and when they're allowed to fire.
Why Launcher?
Most websites end up with two separate tools doing related jobs:
A consent management platform ("did this visitor say yes to statistics?")
A tag manager ("fire Google Analytics")
There are a few problems with this, namely:
Data transfer to the U.S.
The tag managers most sites rely on are US big tech. Google Tag Manager is an obvious example of this. When your consent management platform runs as a tag inside one of those, every visitor's consent choices pass through US infrastructure before your site acts on them. That's hard to defend under GDPR, and hard to explain to anyone who asks.Built-in triggers don't know about consent
Tag manager triggers fire on page load, DOM ready, clicks, but none of which know anything about consent. First-time visitors who haven't answered the banner yet fall into a gap, and the usual workaround is to wire up custom dataLayer events that your CMP pushes when consent changes. It works, but it's glue code you shouldn't have to write.Two scripts to load
Every page view pulls one script for consent and another for tag management before anything useful happens. Unnecessary weight on a waterfall that already matters for Core Web Vitals.Consent ends up as an add-on
The tag manager was designed first and consent was bolted on afterwards. It shows in the UX, the mental model, and the failure modes.
Launcher collapses all of this into one place. Consent and tag firing live in the same UI, use the same consent categories, and share the same preview tools. When a visitor accepts statistics, your analytics tag fires. When they don't, it doesn't.
No glue code, no extra vendor in the middle, no second script to load, and nothing leaves sovereign EU infrastructure just to decide whether a tag should fire.
Consent Studio Launcher is available for free to all new and current Consent Studio Essential and Professional customers.
A library to start from
Open the Template library and you'll find the usual suspects ready to go: Google Analytics 4, Meta Pixel, Reddit Pixel, Matomo, Piwik PRO, Microsoft Clarity, TikTok Pixel, HubSpot, RUMvision and more. It’s a list that keeps growing.
Each template already knows its consent category, the fields it needs, and how it wants to fire.
Pick one, drop in your tracking ID, save. If something isn't in the library yet, a Custom HTML tag is always there as an escape hatch.
Consent baked in, not bolted on
Every tag has a firing mode that decides how it interacts with consent: Neutral, Defer or Configure.
Most default to the latter, “Configure”, ensuring a tag stays dormant until the visitor matches the configured consent requirements.
When you trust a tag’s own consent mechanism, such as Google Consent Mode, you can decide to select Defer. Together with our built-in integrations, this mode forms an absolute power couple.
The rare Neutral mode (“always”) is reserved for scripts that genuinely set no tracking technologies, and the UI reminds you of that when you reach for it.
In other words: you will never have to build the "if consent then fire" plumbing yourself. It's the first thing Launcher does, not the last.
Technically, all of this lives inside the same script that already renders your Consent Studio banner, known as banner.js. Nothing extra loads, and everything the Consent Studio CMP already ships comes along for the ride: the JavaScript SDK with its browser events and programmatic API, the cs-require attribute for HTML-level gating of embedded scripts and iframes, the banner itself, and much more.
One script, everything you need.
When and where tags fire
Tags can trigger on page load or on a specific dataLayer event. It’s the same dataLayer your checkout already pushes Purchase to, the same event your blog fires when someone signs up for the newsletter.
Once a trigger matches, filters decide whether the tag actually runs: narrow by page path, domain, query parameter, cookie, a JavaScript variable, a dataLayer value, or any field from the triggering event itself. Combine them with AND or OR. "Only fire Reddit Purchase when event.currency equals EUR" is one filter; "only on the thank-you page" is another.
Values that travel with the visitor
Variables let you define something once, like a cookie, a URL parameter, a dataLayer key or a JavaScript expression, and reference it from any number of tags using {{variable_name}}. And for tags triggered by a dataLayer event, you can reach straight into that event with {{event.<key>}}, nested paths included. Your Meta Pixel Purchase tag can send the exact value and currency from the push that triggered it, with nothing else to wire up on your website.
See it before you ship it
Every tag overview has a Preview button that opens your real website with a floating debug panel on screen. It shows the current consent state, every tag with its live status (fired, waiting, skipped, and why), every variable with its resolved value, and a rolling event log. Share the link with a colleague, walk through the page, fix what doesn't match expectations. Then publish.
Built in the open
Launcher is young, and its shape is still being pulled around by what customers actually need. If something is missing, confusing, or quietly brilliant, tell us. improve.consent.studio is where ideas, roadmap updates, and the occasional "we hadn't thought of that" moment live in public. Every piece of feedback lands on a real desk.
Getting started
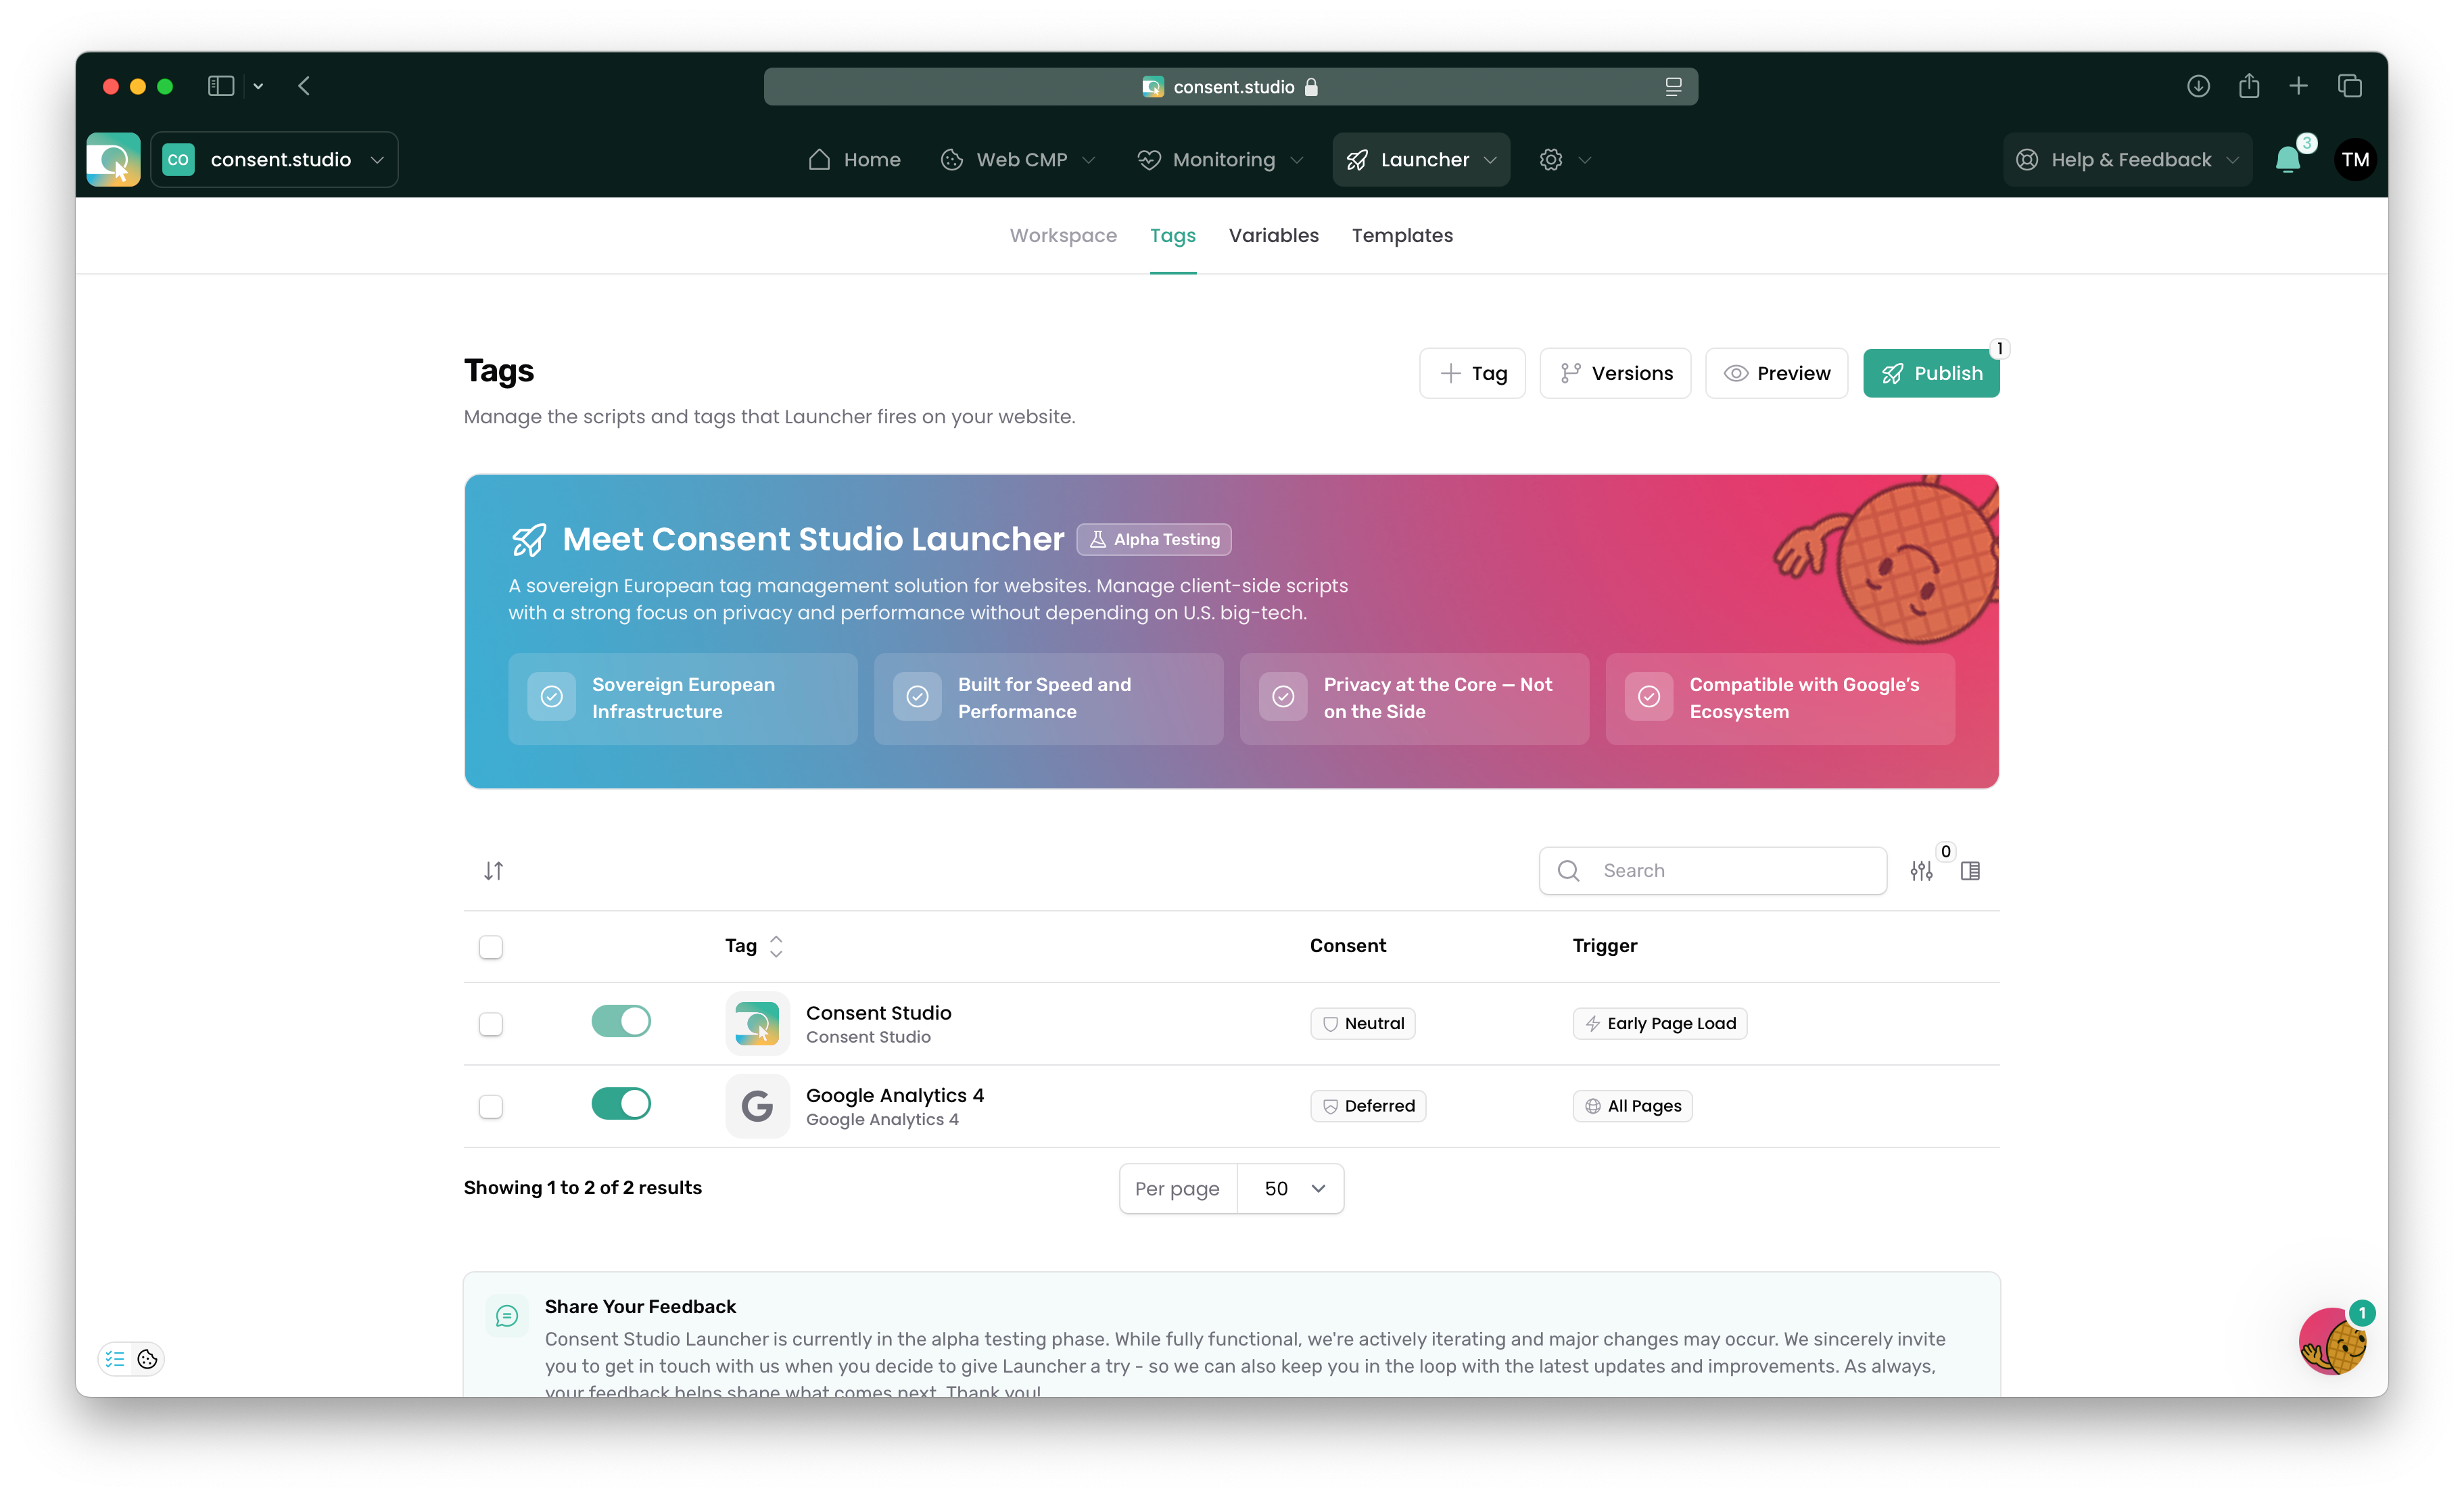
In your Consent Studio dashboard, access Consent Studio Launcher’s Tags overview via the top menu.
Click + Tag at the of the screen to either configure a tag readily available in our gallery, or create your own from scratch.
Add the
launcher.jsto your website.Hit Preview to confirm it behaves the way you expect.
Publish when you are ready and confident.